This post may contain affiliate links. Please read my disclosure.
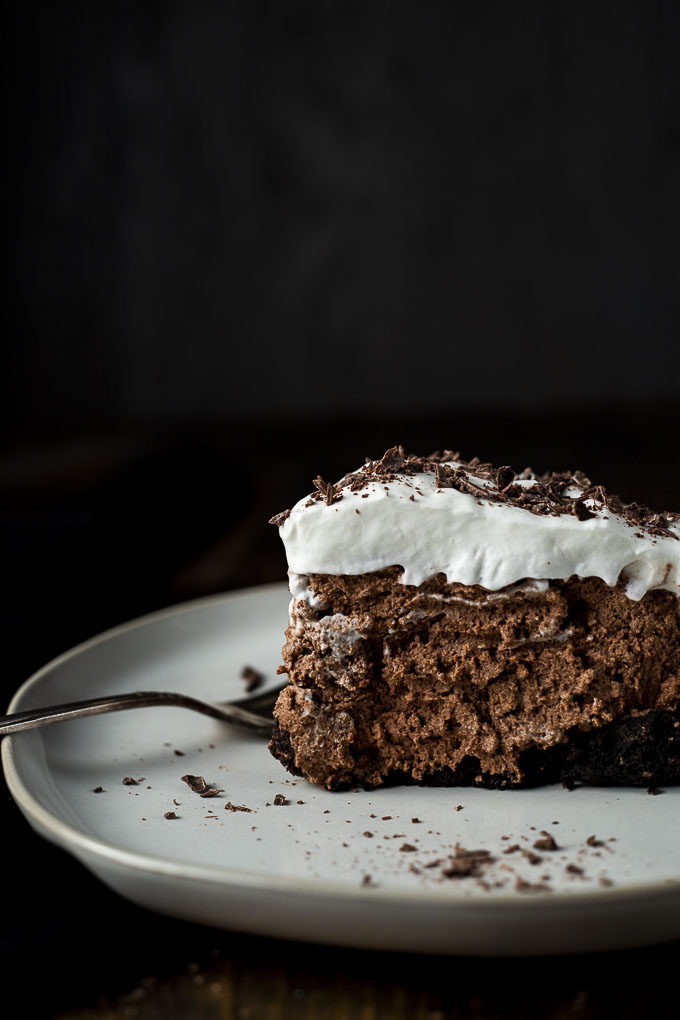
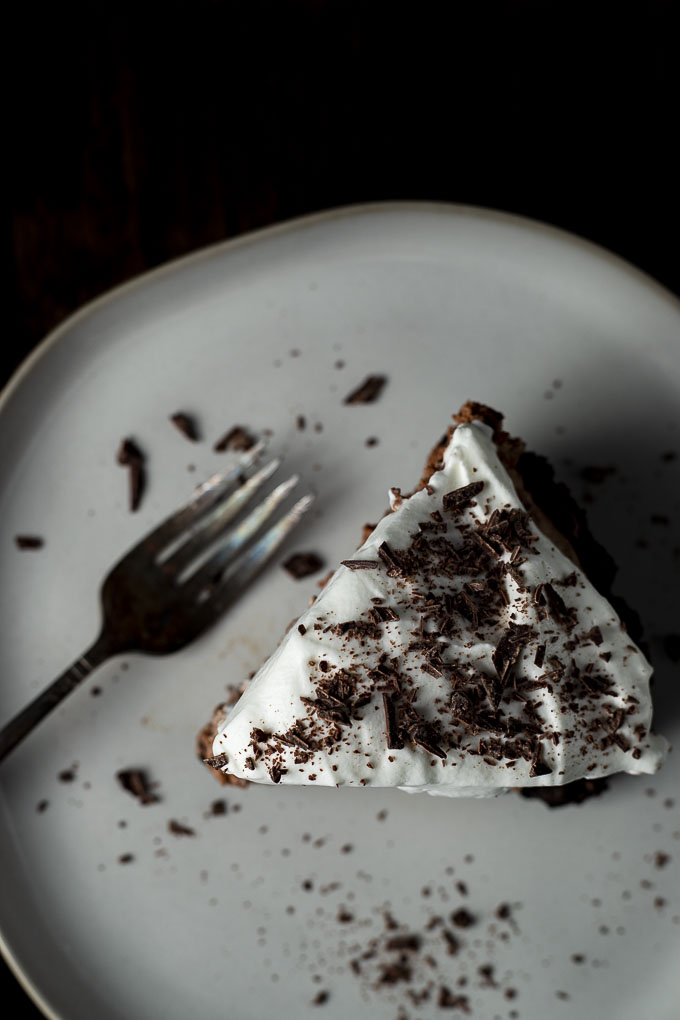
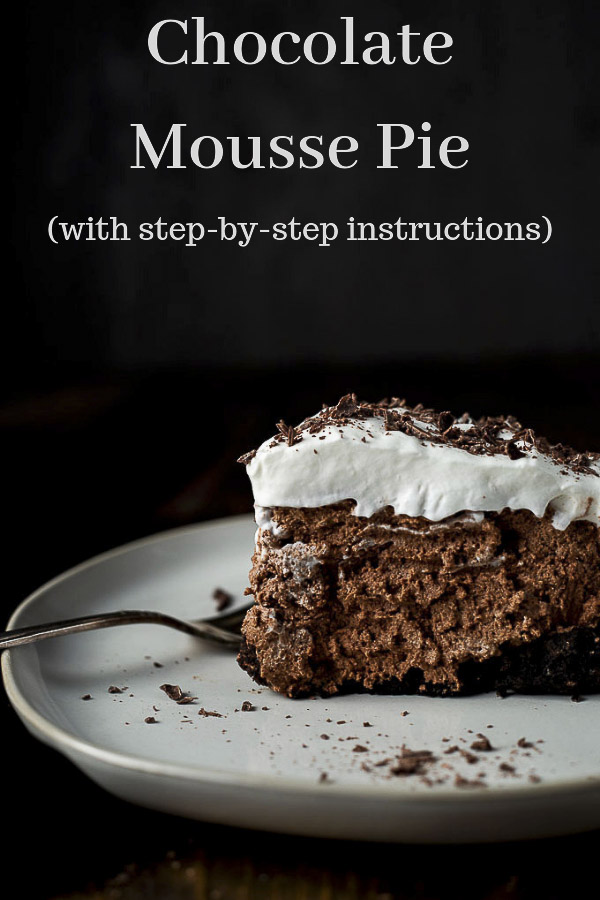
This no bake Chocolate Mousse Pie is made with creamy melted chocolate mixed with whipped cream and fluffy egg whites all on top of a homemade Oreo crust. It's easy to make and perfect to impress your guests or family!
This recipe was originally published in June 2017. It has been updated for photos and content.
Rich, creamy chocolate, fresh whipped cream and light, fluffy meringue, all in an Oreo cookie pie crust. Sounds like perfection, right? It is. Most definitely delicious.
And while there are a few steps involved to making this easy chocolate pie recipe, it's not complicated. Plus, there are step-by-step instructions below with photos to make it easy to follow along.
If you're a lemon fan like me, you'll also want to check out this No Bake Lemon Chiffon Pie with Gingersnap Crust.
Jump to:
Why This Recipe Works
- The whipped cream gives the chocolate a creamy texture, while the whipped egg whites make the chocolate mixture light and fluffy.
- Melting the chocolate with butter gives the chocolate an amazingly smooth richness.
- The Oreo crust just makes the pie that much more chocolaty - and that just more delicious in my book.
- It can be made in advance, which is perfect for parties and BBQs.
Want to Save This Recipe?
Enter your email & I'll send it to your inbox. Plus, get great new recipes from me every week!
By submitting this form, you consent to receive emails from Went Here 8 This.
Ingredients
It's very important to use unsweetened baking chocolate in this recipe. I like to use a good quality baking chocolate like Bakers or Ghirardelli unsweetened baking chocolate (affiliate links).
- Unsweetened baking chocolate
- Sugar
- Egg whites - preferably room temperature for best results
- Cream of Tartar - helps the egg whites to hold air better
- Heavy cream
- Butter - Unsalted
- Oreo cookies
Step By Step Instructions
The base of the chocolate mousse pie is an Oreo crust. This crust is so easy to make and just incredibly delicious!
How to Make an Oreo Crust
Preheat the oven to 350F degrees.
Step 1: Place the Oreo cookies in a food processor and pulse until crumbs are formed. It should be pretty fine, you don't want big chunks of Oreo or your crust will not be uniform.

Step 2: Pour the crumbs in a bowl and mix in the melted butter.
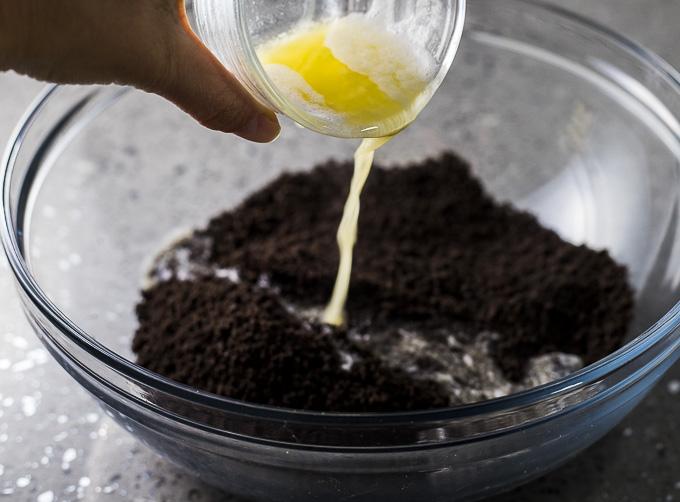
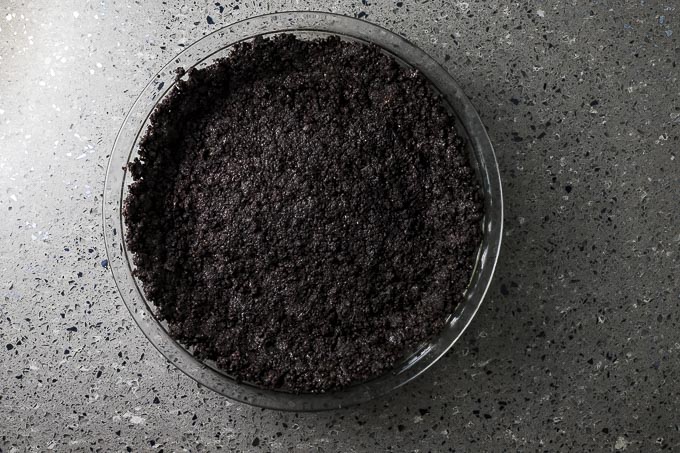
Step 3: Press the mixture firmly into pie plate (your fingers are best for this) and bake at 350 degrees for 18 minutes. Refrigerate until it's cooled.
How to Make Chocolate Mousse
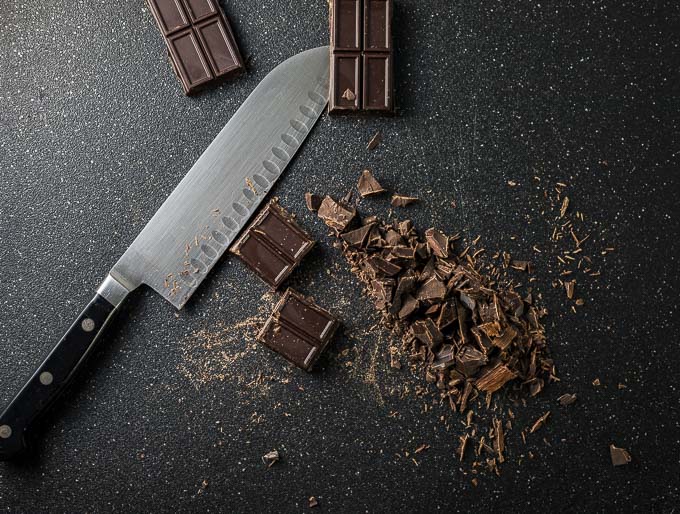
Step 1: The chocolate fluff is the most labor intensive part of this recipe. And it's not that hard. Start by using a knife to roughly chop the chocolate.
Step 2: Melt the chopped chocolate and butter together in a heatproof bowl. I typically use the microwave for this as it is the quickest and easiest way.
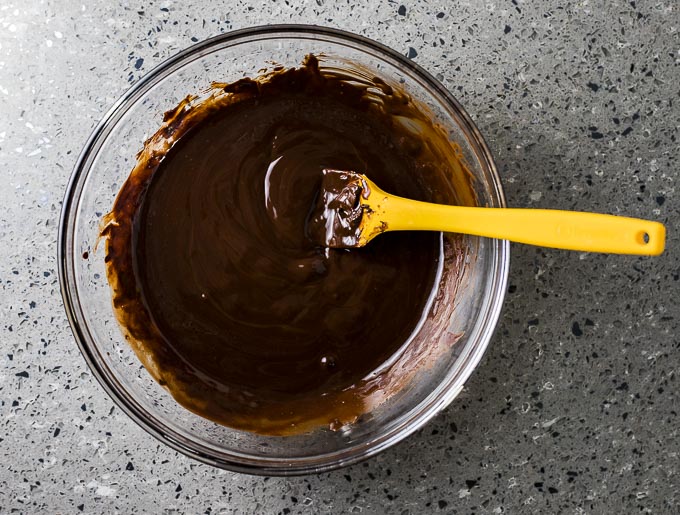
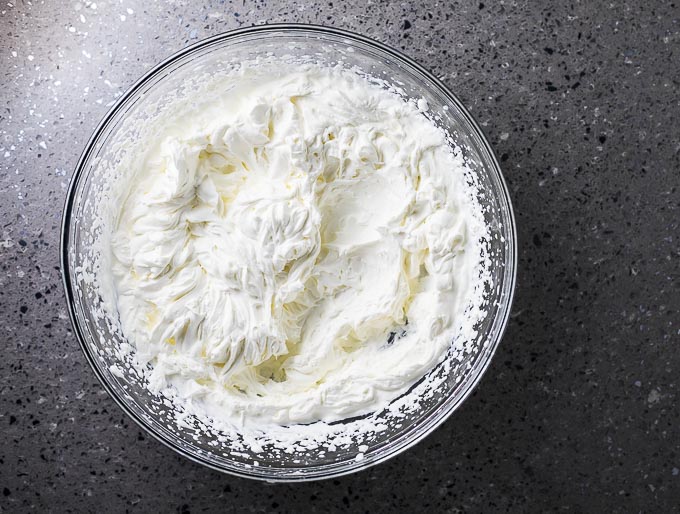
Step 3: Place whipping cream (2 cups) in a large bowl and whip until soft peaks form.
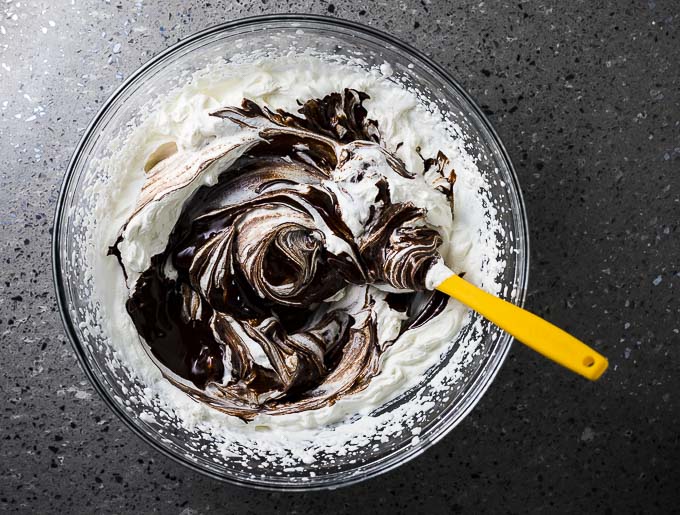
Step 4: Gently fold the melted chocolate into the whipped cream. Be careful not to over-mix it.
Step 5: Place the egg whites in a bowl and whip until frothy.
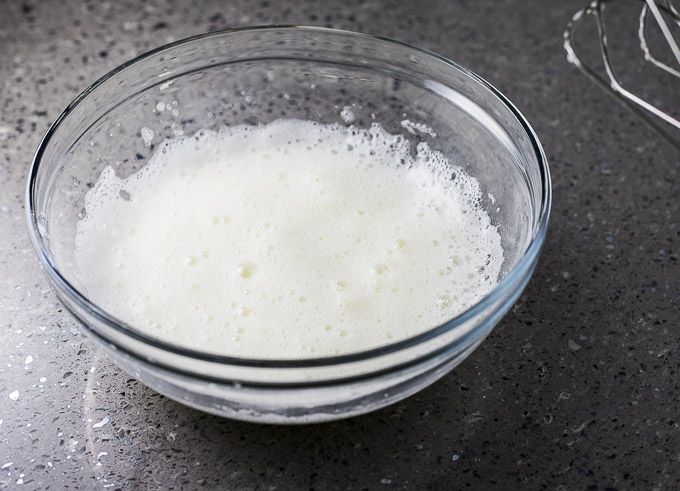
Step 6: Add the cream of tartar and ¼ of the sugar and continue whipping, adding a little sugar at a time, until soft peaks form.
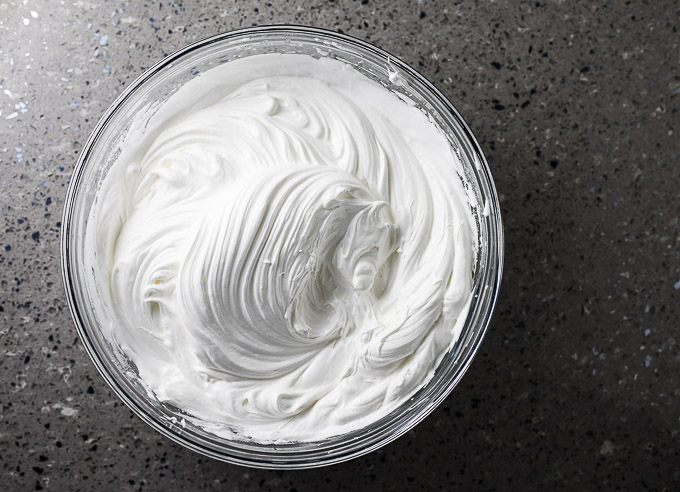
Step 7: Gently fold the egg whites into the chocolate mixture, being careful not to over-mix or the egg whites will deflate. The mixture should be fluffy when you're done. Read this post on how to fold egg whites from The Kitchn.
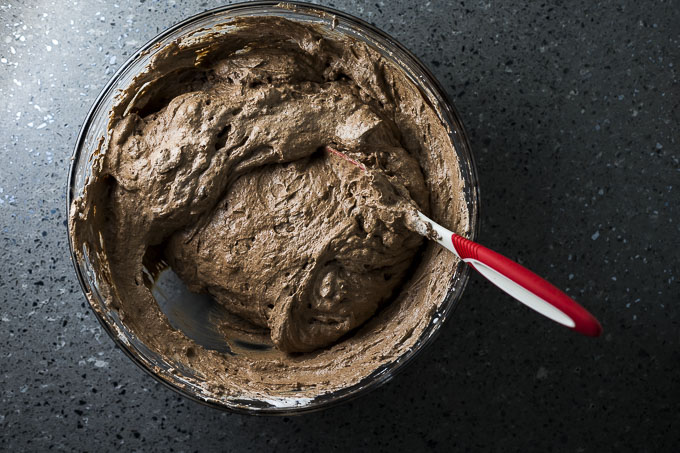
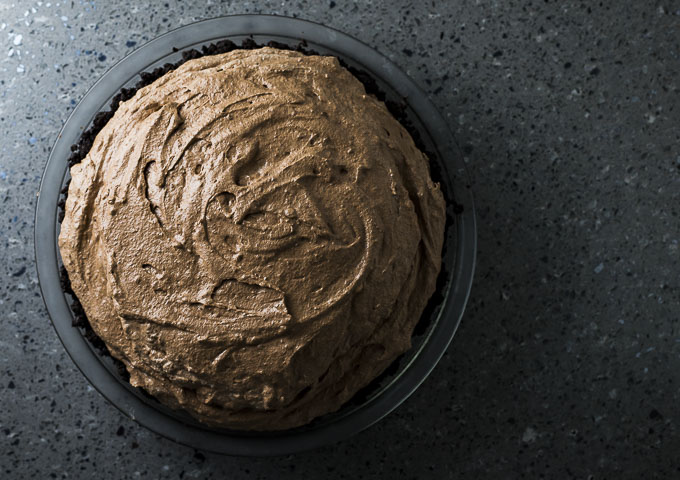
Step 8: Pour the chocolate mousse into the cooled pie crust and refrigerate for 4 hours, or until completely set.
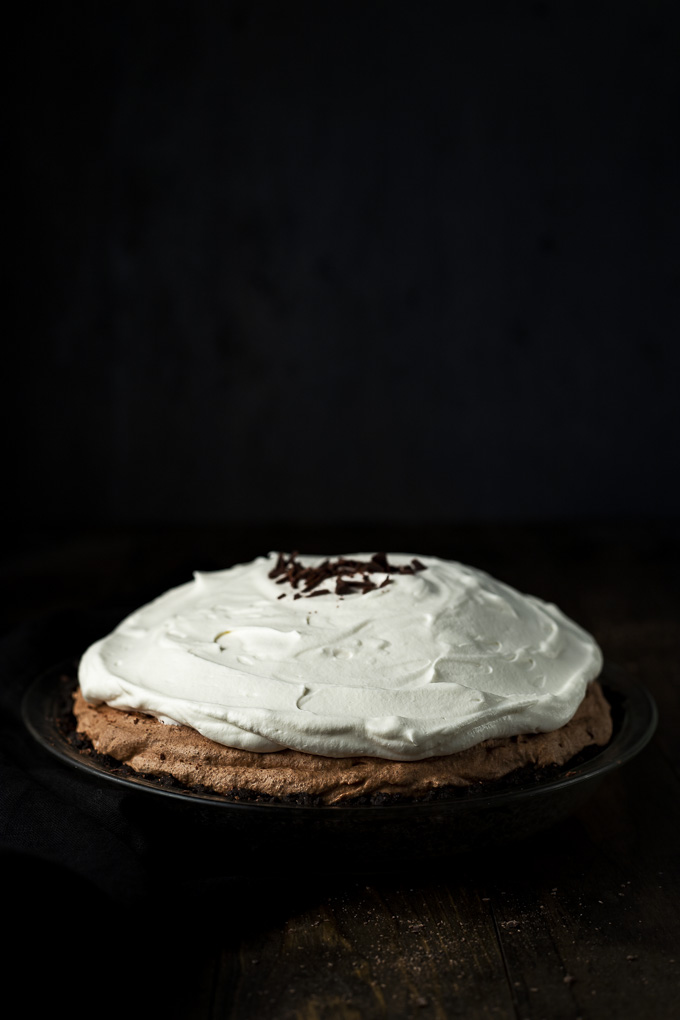
Step 9: Spread the whipped cream on (see instructions for making whipped cream in the next paragraph) and refrigerate another hour until whipped cream is set. Garnish with chopped chocolate and serve.
How To Make Whipped Cream
Whip the cream until it becomes frothy. Add the sugar and vanilla and continue whipping until soft peaks form.
Expert Tips
- Be careful not to over beat the whipping cream or it will become watery and you'll have to start over.
- Let the egg whites come to room temperature before whipping them - they will whip better.
- Let the crust cool fully before adding the mousse. A warm crust could cause the mousse to start to deflate. I typically place the crust in the freezer for about 20 minutes before adding the mousse.
- Whenever you are mixing something with egg whites, be sure to fold the mixture together, don't just mix it. Read this post on how to fold egg whites from The Kitchn.
- Cool the pie fully before serving. If you serve when it's warm, it will be very messy (but will still taste good ;-).
Frequently Asked Questions
- Why is my whipped cream watery? If you over beat the whipping cream, it will become watery. Make sure to stop beating once soft peaks have formed. If you over beat, you have to start from scratch.
- My egg whites aren't whipping? If there is any egg shell, egg yolk, or any foreign matter it may cause the egg whites to not whip. In addition, room temperature egg whites will whip up easier than cold egg whites. The cream of tartar will also help to keep the air in the egg whites.
- Can you make chocolate mousse pie in advance? Chocolate mousse pie can be made from 2 hours to 3 days in advance. Store in the fridge, covered loosely with plastic wrap or foil until ready to serve. It will last in the fridge for 3-4 days.
- Can you freeze chocolate mousse pie? Chocolate mousse pie can be stored, covered, in the freezer for up to 1 week. if you wish to store it for longer, place it in an airtight container and store for up to 1 month for the best results.
Love Pie? Make Some More!
- No Bake Lemon Chiffon Pie
- Fruit Galette with Raspberries
- Simple Almond Tart with Candied Cherries
- Strawberry Mousse Pie from the Midnight Baker
More No Bake Dessert Recipes
- No Bake Cheesecake Balls;
- No Bake Oreo Balls;
- No Bake Pumpkin Cheesecake Balls;
- The Perfect No Bake Cheesecake from Sally's Baking Addiction
Gimme ALL the Chocolate!!
- Easy Chocolate Souffle Recipe;
- Dark Chocolate Truffles Recipe;
- Orange Chocolate Bread;
- Chocolate Peanut Butter Brownies.
Did you make this easy Chocolate Pie recipe? Leave a comment below and let me know how it turned out!
Recipe
No Bake Chocolate Mousse Pie
Ingredients
Oreo Crust:
- 20 Oreo cookies
- 4 tbsp. butter melted
Chocolate Mousse:
- 8 oz. unsweetened baking chocolate chopped
- 2 tbsp. butter
- 1 cup sugar
- 2 cups cream
- ¼ tsp. cream of tartar
- 4 egg whites
Instructions
Oreo Crust
- Preheat the oven to 350 degrees. Place the Oreo cookies in a food processor and pulse until crumbs are formed.
- Add melted butter and mix until thoroughly combined.
- Press the mixture firmly into pie plate. Bake at 350 degrees for 18 minutes.
Chocolate Mousse
- Melt chocolate and butter together in a heatproof bowl. I recommend using the microwave for the quickest results.
- Place whipping cream in a bowl and whip until soft peaks form. Slowly fold in the melted chocolate. The mixture doesn't have to be fully combined at this point - streaks are ok.
- Beat the egg whites with a mixer until they become frothy. Add the cream of tartar and ¼ of the sugar. Continue beating, adding a little sugar at a time, until soft peaks form.
- Fold the egg whites gently into the cream and chocolate mixture. Be carefull not to over-mix or the mousse will start to deflate.
- Pour the chocolate mousse into the cooled Oreo pie crust. Chill for 4 hours, or until completely cooled and set.
Whipped Cream
- Whip the cream until it starts to become frothy.
- Add the sugar and vanilla and continue beating until soft peaks form.
- Spread the whipped cream over the cooled chocolate mousse. Refrigerate 1 hour and serve.
Expert Tips:
- Be careful not to over beat the whipping cream or it will become watery and you'll have to start over.
- Let the egg whites come to room temperature before whipping them - they will whip better.
- Let the crust cool fully before adding the mousse. A warm crust could cause the mousse to start to deflate. I typically place the crust in the freezer for about 20 minutes before adding the mousse.
- Whenever you are mixing something with egg whites, be sure to fold the mixture together, don't just mix it.
- Cool the pie fully before serving. If you serve when it's warm, it will be very messy.
Nutrition
Tools Used to make Chocolate Mousse Pie
- Hand Held Mixer – I have been using this one and I love it. It’s perfect for storing too as it takes up minimal space
- Glass Mixing Bowls – You always need some glass mixing bowls!
- Silicon Spatula – Another kitchen must-have.
- 9″ Pie Plate – I use a simple glass one like this one.
- Food Processor.



Margaret Love
I made this pie and everything was delicious except the crust😩. We tried to cut it the next afternoon but the crust was like a brick. Finally after almost cut the pie pan I was able to take a bite of the crust good but so chewy
Danielle
Oh no, I'm so sorry the crust came out so hard! I haven't had that issue before, I will have to ponder what could have happened and update the post with tips 🙂
Julie
Going to make this for our “different” Thanksgiving this year. Going to use a regular pie crust. Oreo is a little sweet overkill for me.
Danielle
I totally get it, Oreo can be really sweet - I really hope you enjoy it!
Sheila
Do you use salted or unsalted butter?
Danielle
Salted - thanks for pointing out that I didn't specify that!
Leslie
Oreo desserts are the BEST!!! Yours look so enticing and now I can't think about anything besides this recipe!!
Danielle
Oreos are just so good!!
Cheese Curd In Paradise
This is such a fluffy and delicious pie. We are Oreo lovers so my kiddos loved the chocolaty crust! I loved the delicious filling and yummy whipped topping!
Danielle
Thanks Ashley!
Byron Thomas
Okay, I have not made this yet, but I gave it a five star rating already anyway, because every recipe of yours that I have tried has turned out perfectly delicious! I swear, I almost licked the screen when reading through this recipe. But, I got sidetracked and clicked on the link to your oreo balls as well. I have to come back to finish reading the chocolate pie recipe. Oops!
Danielle
LOL! Thanks so much Byron! There's nothing quite like no bake chocolate desserts, right???
GUNJAN C Dudani
First of all I have to say that your images make this cake absolutely irresistible and drool worthy. I love the combination of ingredients. I just cannot wait to bake it with my daughter. Its going to be a fun summer project for us.
Danielle
Awww thanks so much!! I hope you guys love it!