This post may contain affiliate links. Please read my disclosure.
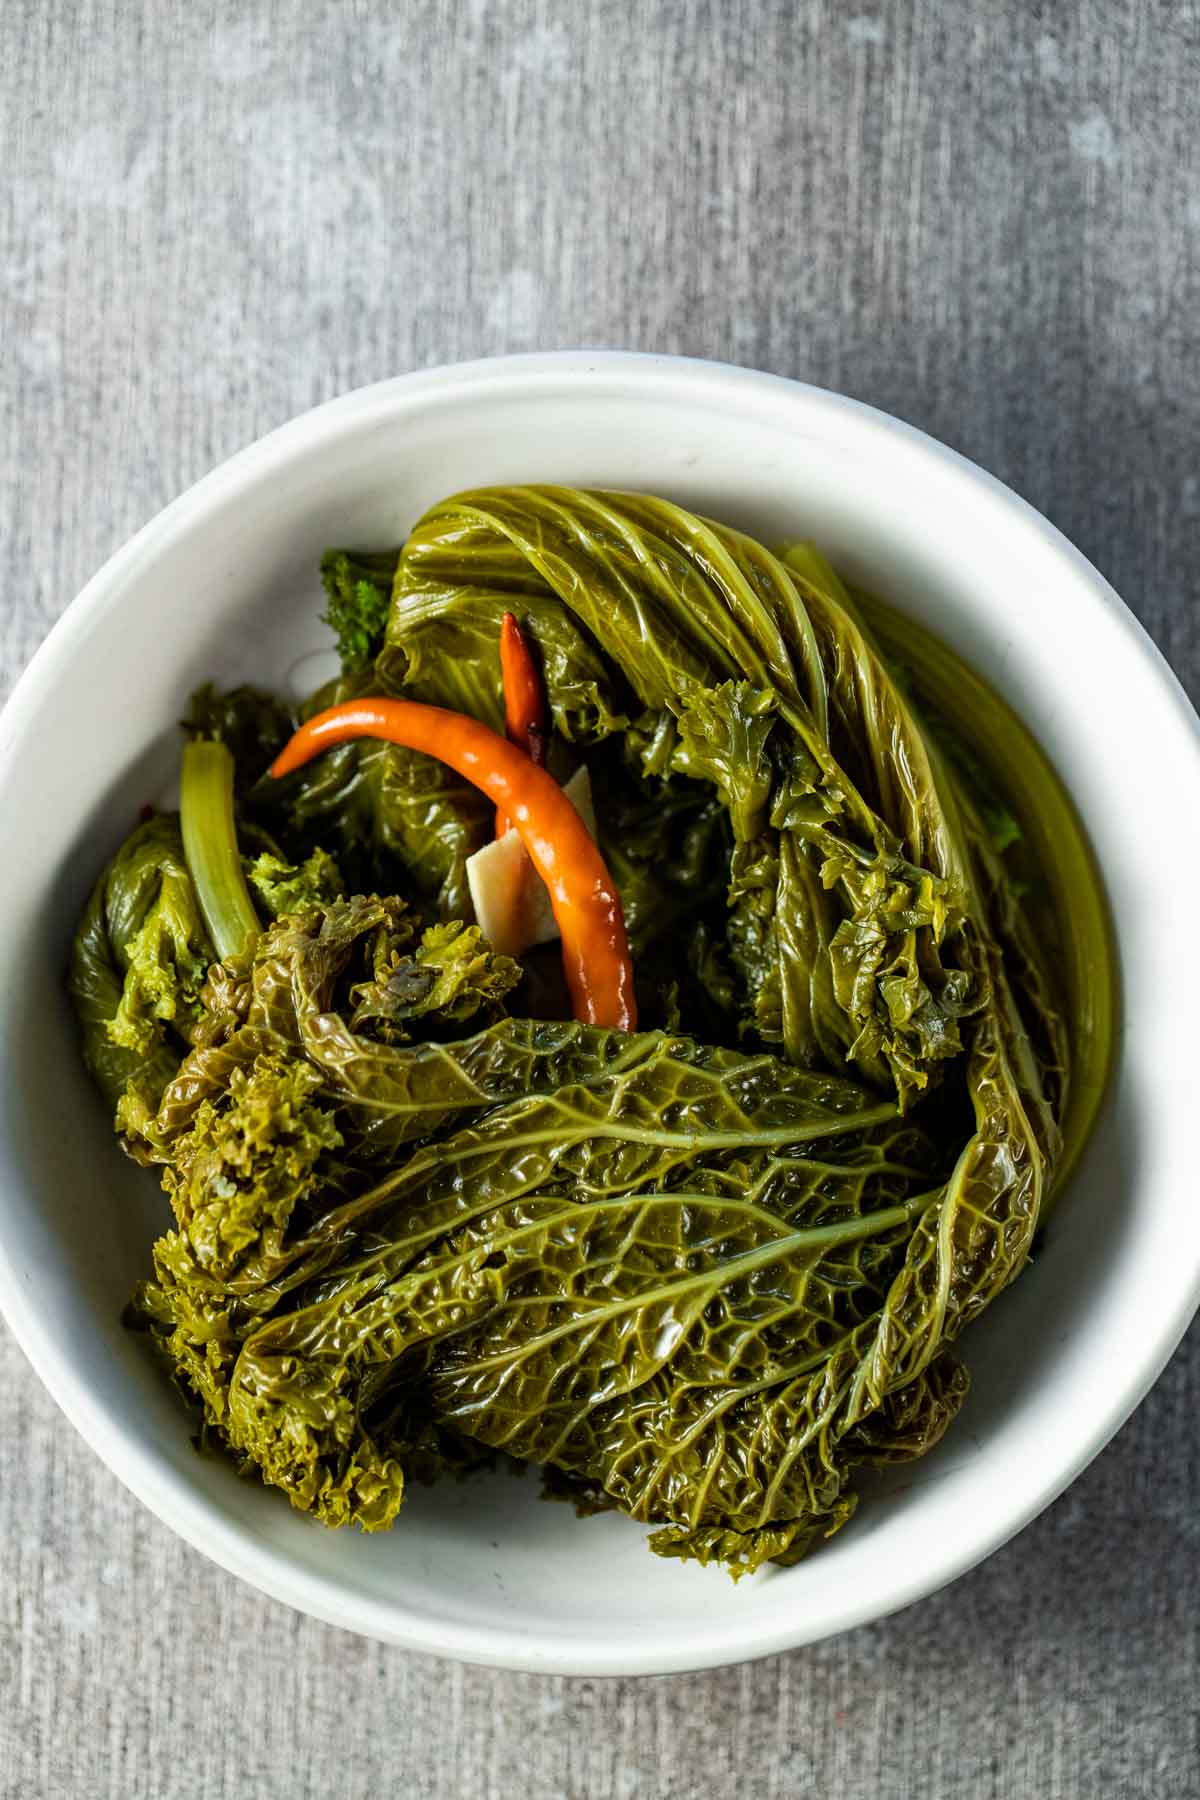
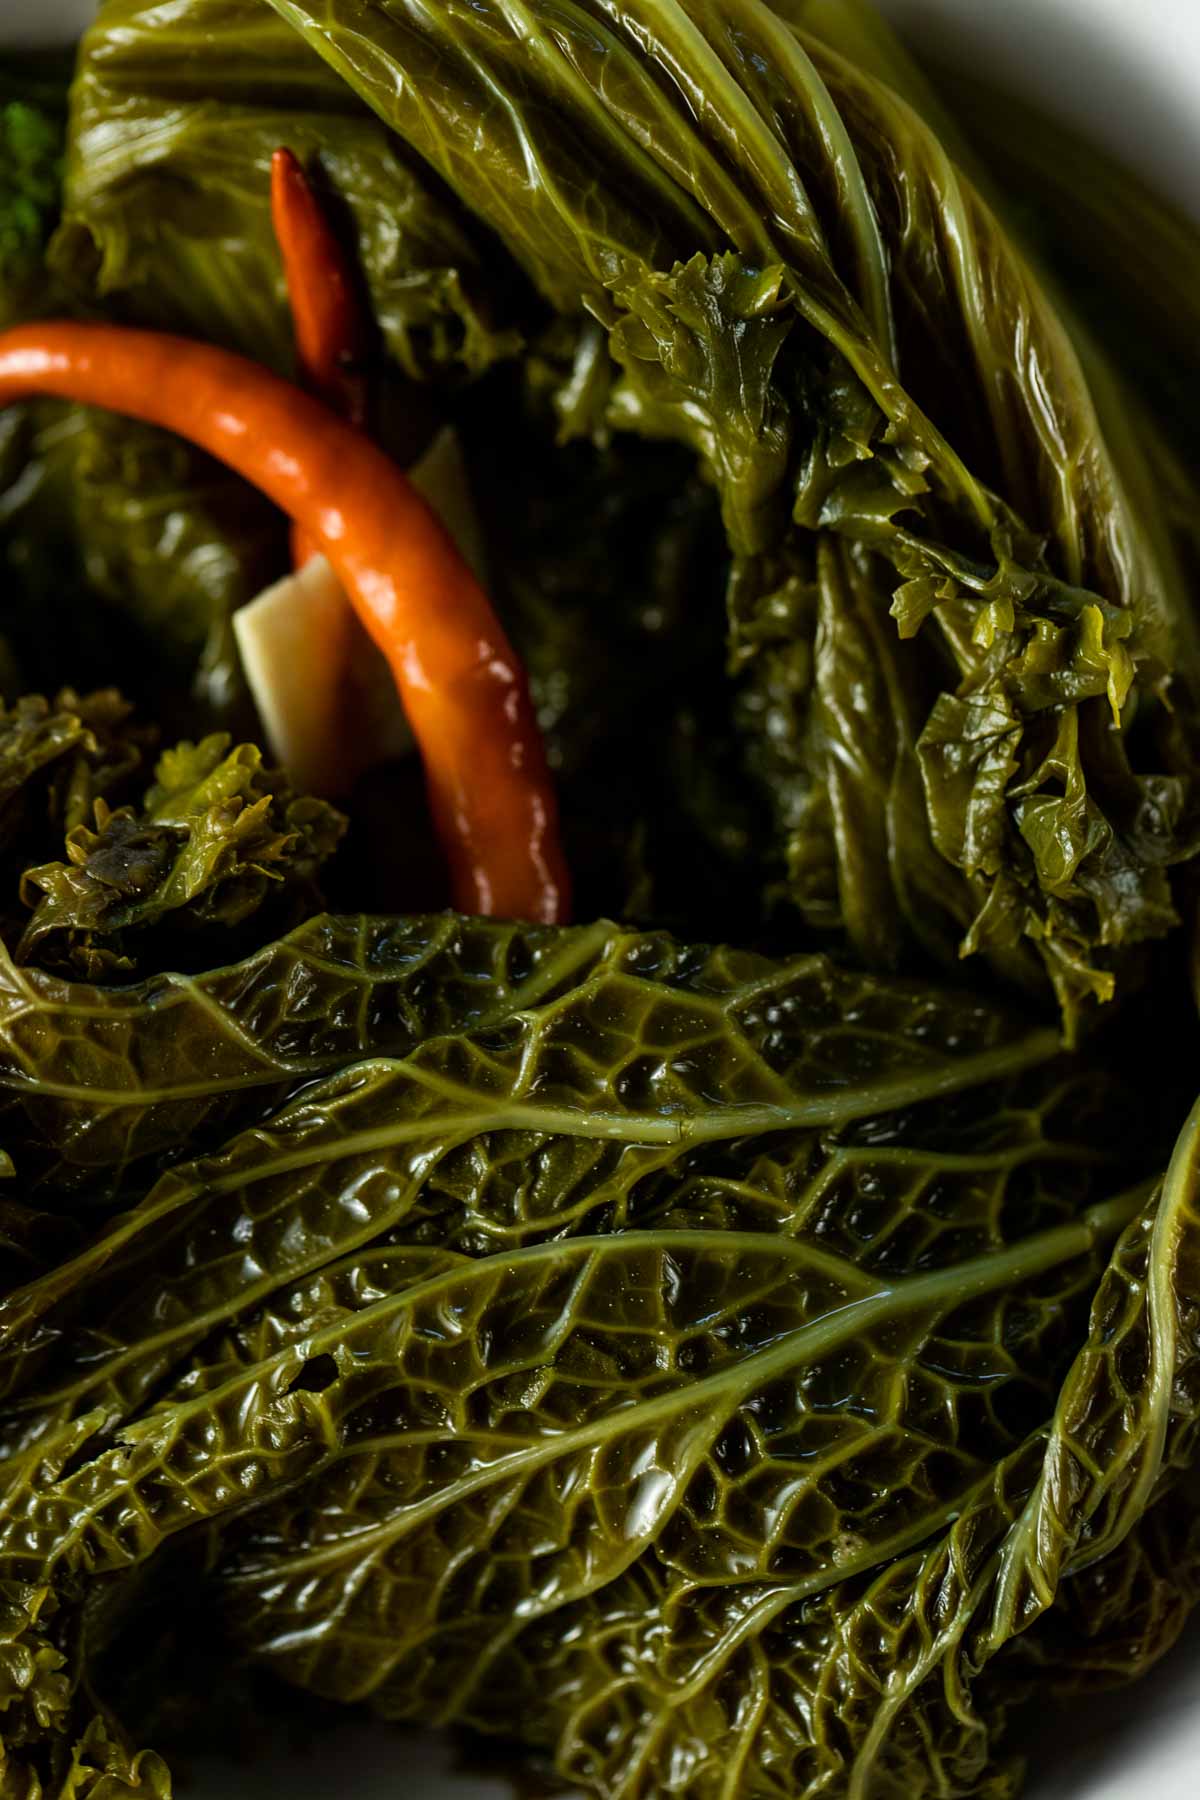
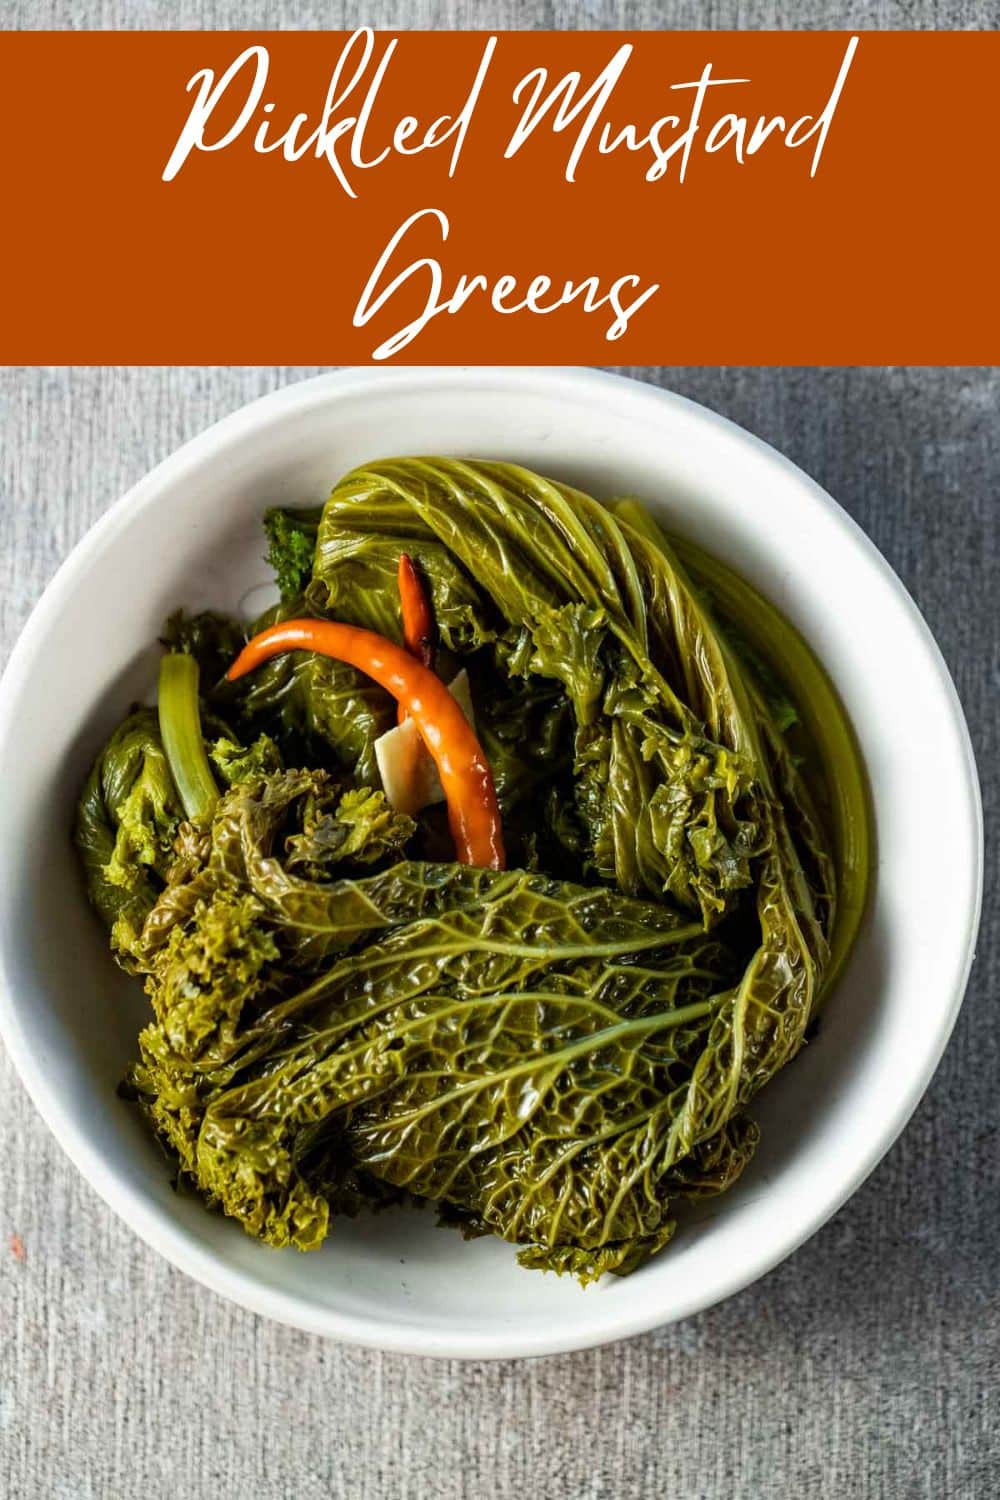
Chinese Pickled Mustard Greens are savory, tangy and a little spicy. They’re easy to make with just a few ingredients and can be enjoyed with stir fries and soups or as a side dish with chicken or fish!
Pickling is a great way to preserve mustard greens. While you need to wait a number of days for the mustard greens to be ready, the actual pickling process is not complicated at all.
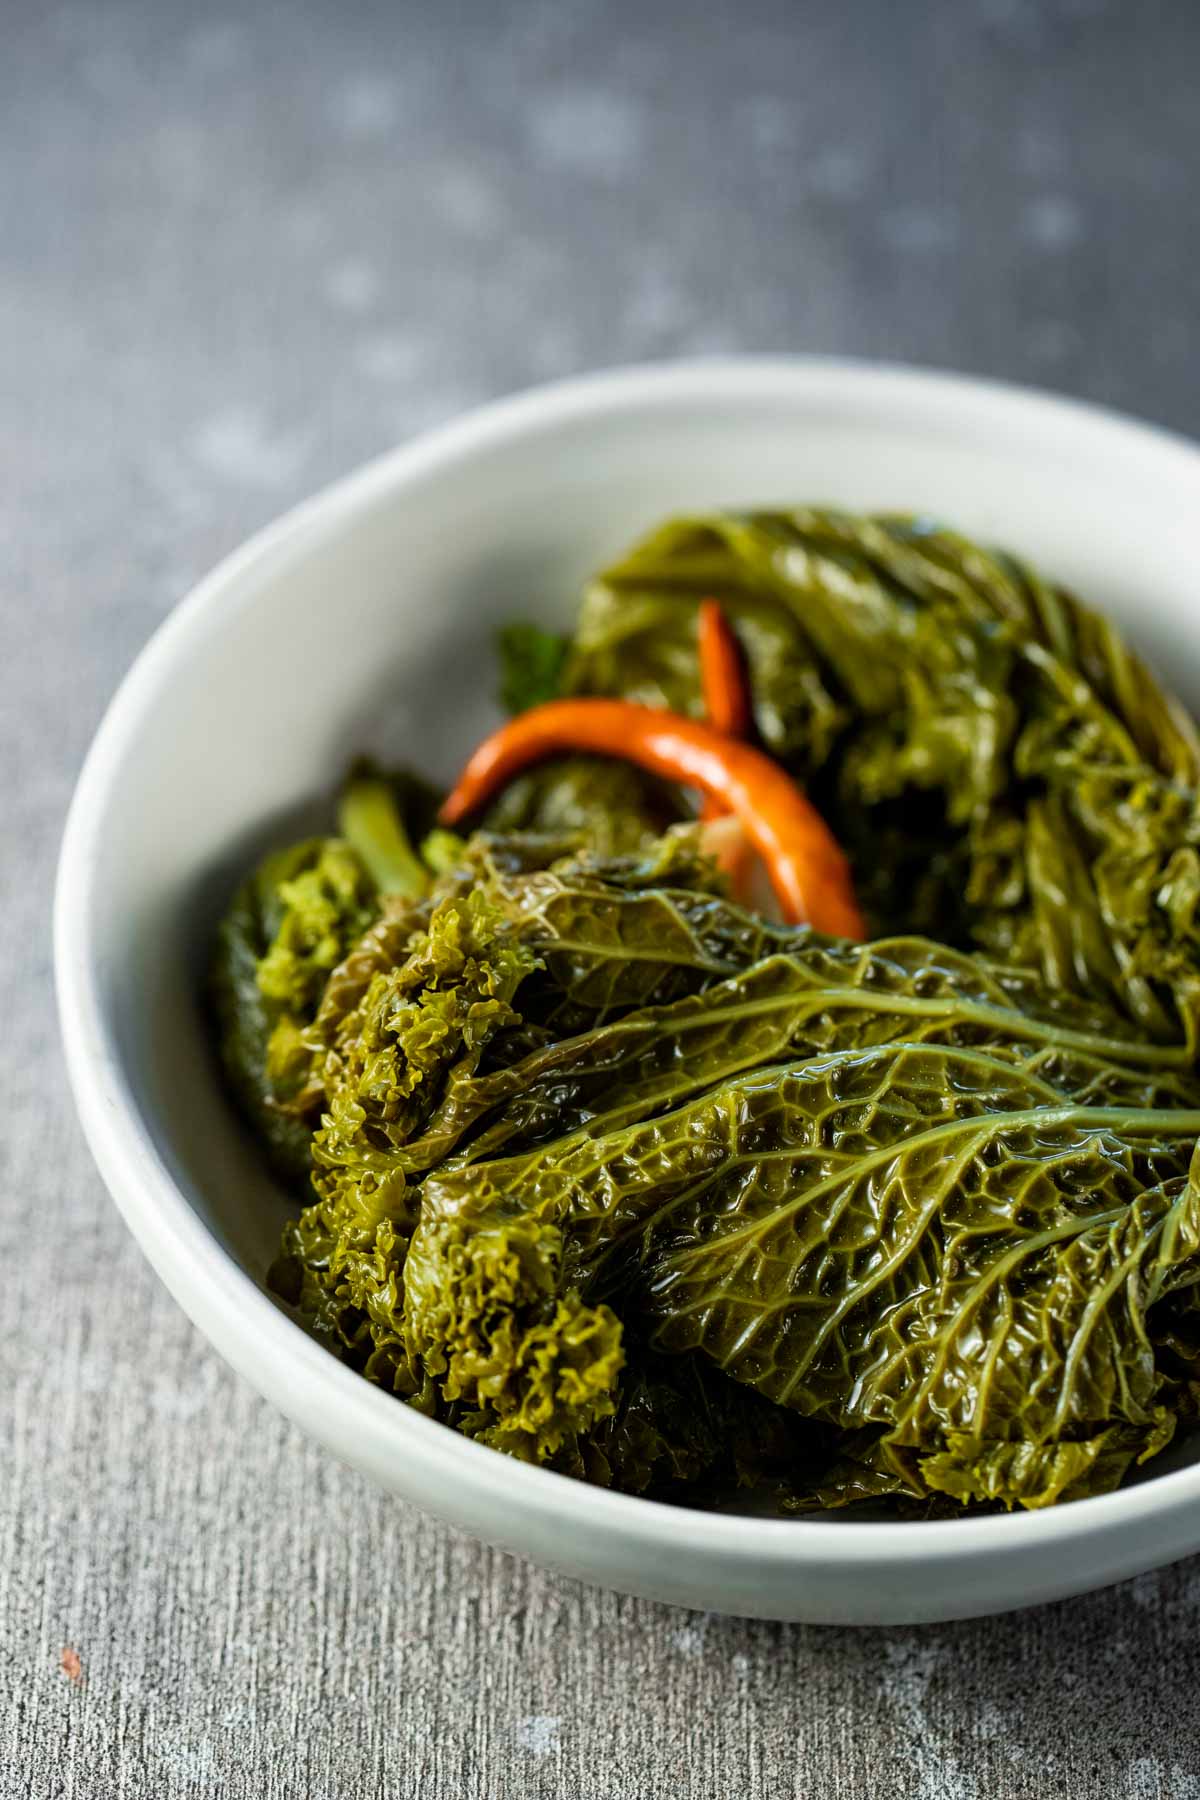
Pickled mustard greens usually have a salty and sour taste thanks to the salt and vinegar used for pickling (not unlike this yamagobo we make!).
For these greens, we’re going for depth of flavor by adding slices of fresh garlic and ginger, dried Thai chilies and star anise.
Once the mustard greens are pickled, they will last for a few weeks in the fridge. We love to serve them with this Chinese salt and pepper chicken and spicy Chinese stir fry green beans.
Jump to:
Why this recipe works
- Mustard greens can be bitter. Pickling helps to tame the bitterness.
- Once pickled, mustard greens will last for weeks in the fridge so they're a quick and easy addition to meals.
- While I used curly mustards, you can use any type of mustard green readily available to you.
- The Thai chilies add a spicy kick, but you can reduce the amount if you prefer.
Want to Save This Recipe?
Enter your email & I'll send it to your inbox. Plus, get great new recipes from me every week!
By submitting this form, you consent to receive emails from Went Here 8 This.
What are mustard greens?
Mustard greens are from the mustard plant and are a leafy green with a slightly bitter and peppery taste (similar to the taste of arugula).
They’re related to kale, cabbage and collard greens and they're common in Chinese, Japanese and Indian cooking as well as in the Southern United States.
There are different types of mustard greens including curly mustard, Chinese mustard (gai choy) and Japanese mustard.
Ingredients
The full list of ingredients and quantities used can be found in the recipe card at the bottom of this post.
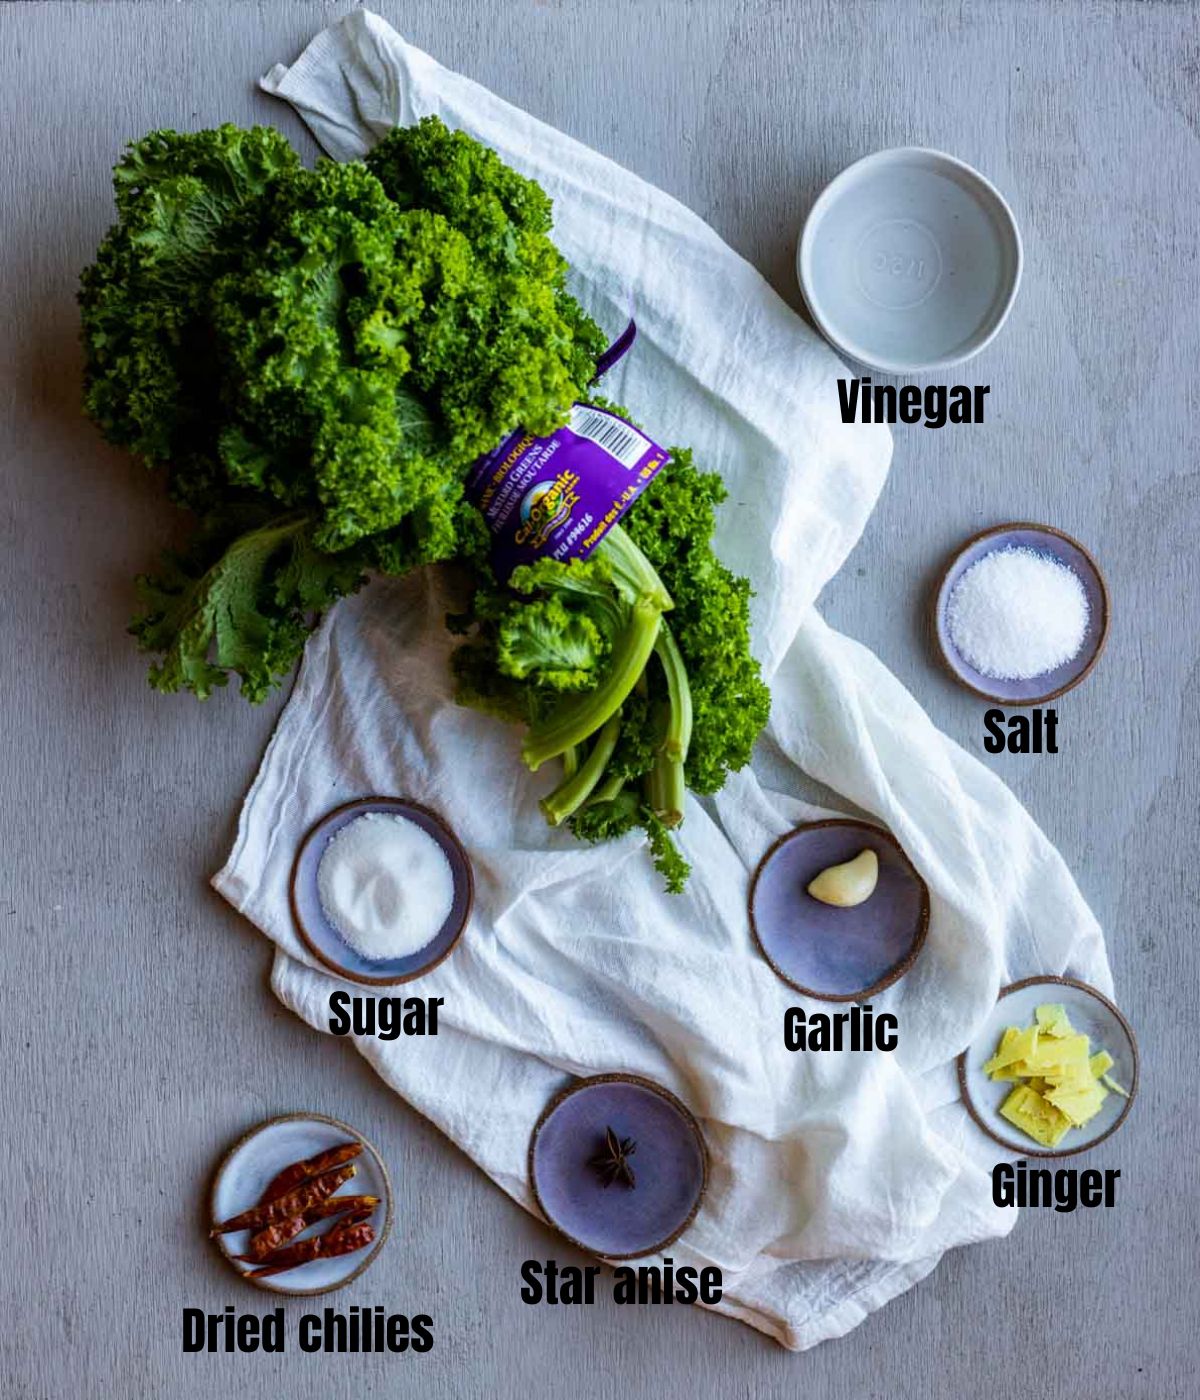
You’ll need 1 pound of mustard greens for this recipe. I used curly mustard greens (or American mustard) but you can use another variety.
For the blanching and pickling process, you’ll need 3 tablespoons of salt, 1 cup of vinegar and 1 teaspoon of sugar.
To add a complex flavor to the greens, they’re pickled with fresh garlic and ginger that have been thinly sliced, dried Thai chilies and star anise.
Normally I would be okay with using minced ginger and garlic in place of fresh, but not in the case of pickling. You’ll want to use fresh. The thin slices of ginger and garlic also add a nice texture to the greens.
If you’re not a fan of spicy, you can reduce the amount of Thai chilies you use.
Star anise has a mild licorice flavor. I highly recommend adding it, but if you can’t find any or prefer to leave it out, feel free to do so.
Step by step instructions
Soak the greens in water for 5-10 minutes then rinse thoroughly to remove any dirt.
Tear into pieces about 4-5" long.
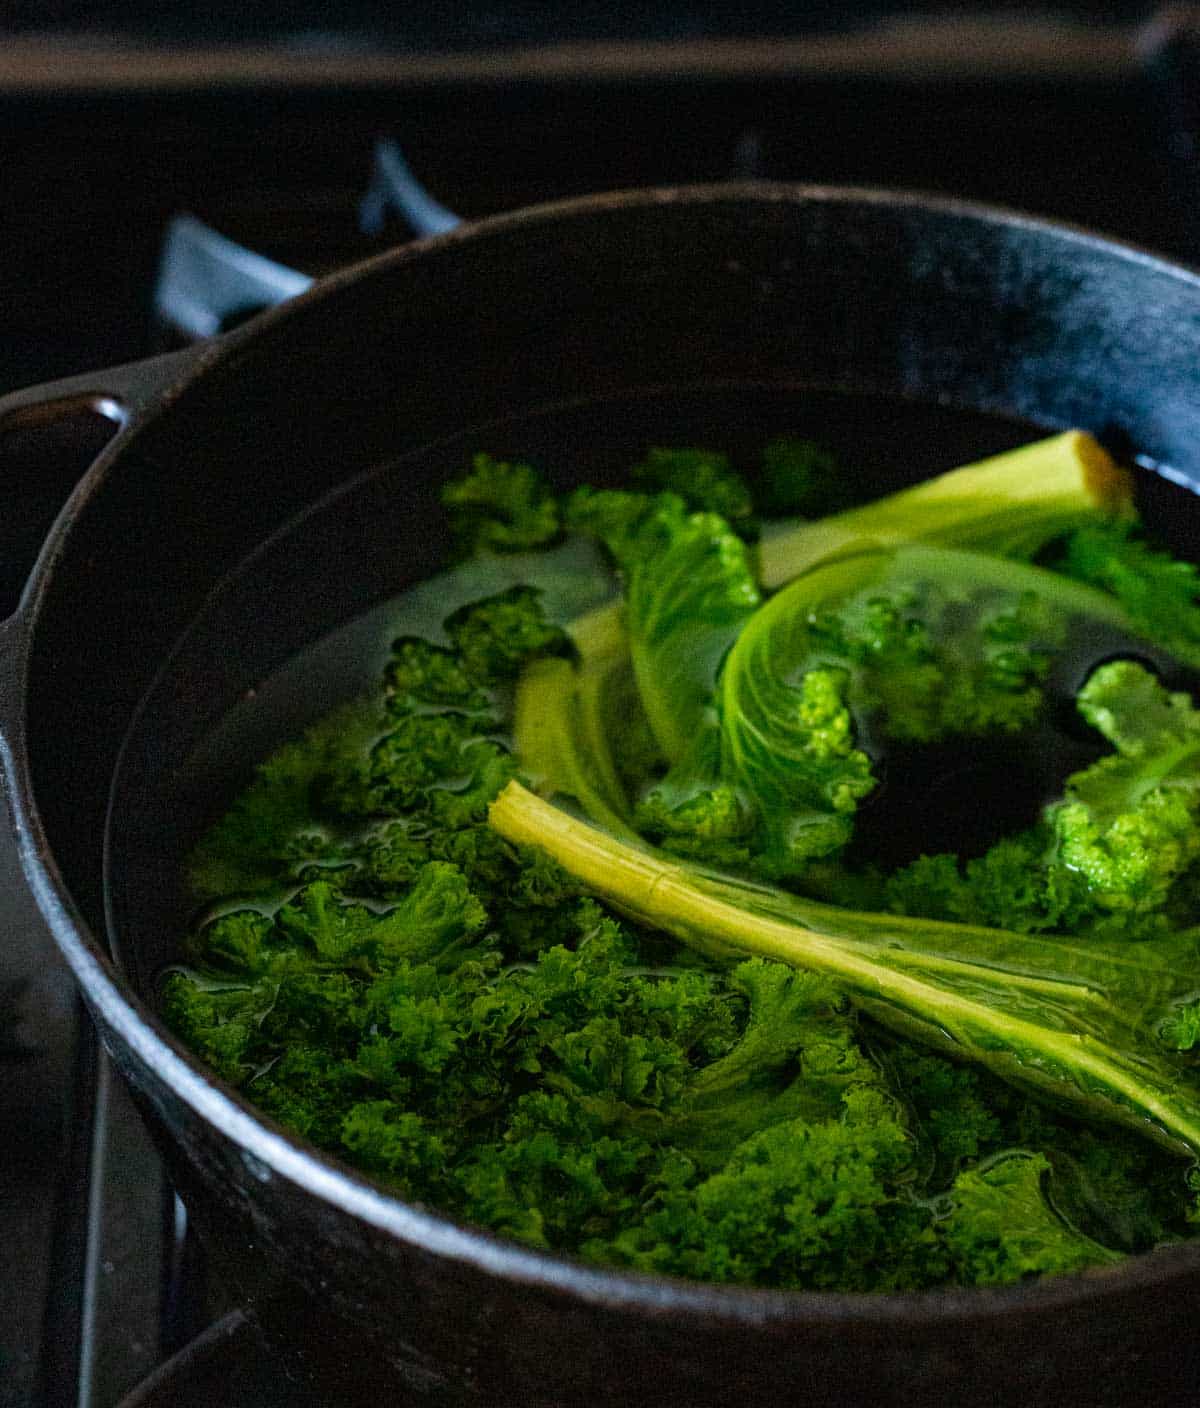
Blanch the greens in about 4 cups of salted water (use the 2 tablespoons of salt) for 30 seconds and remove.
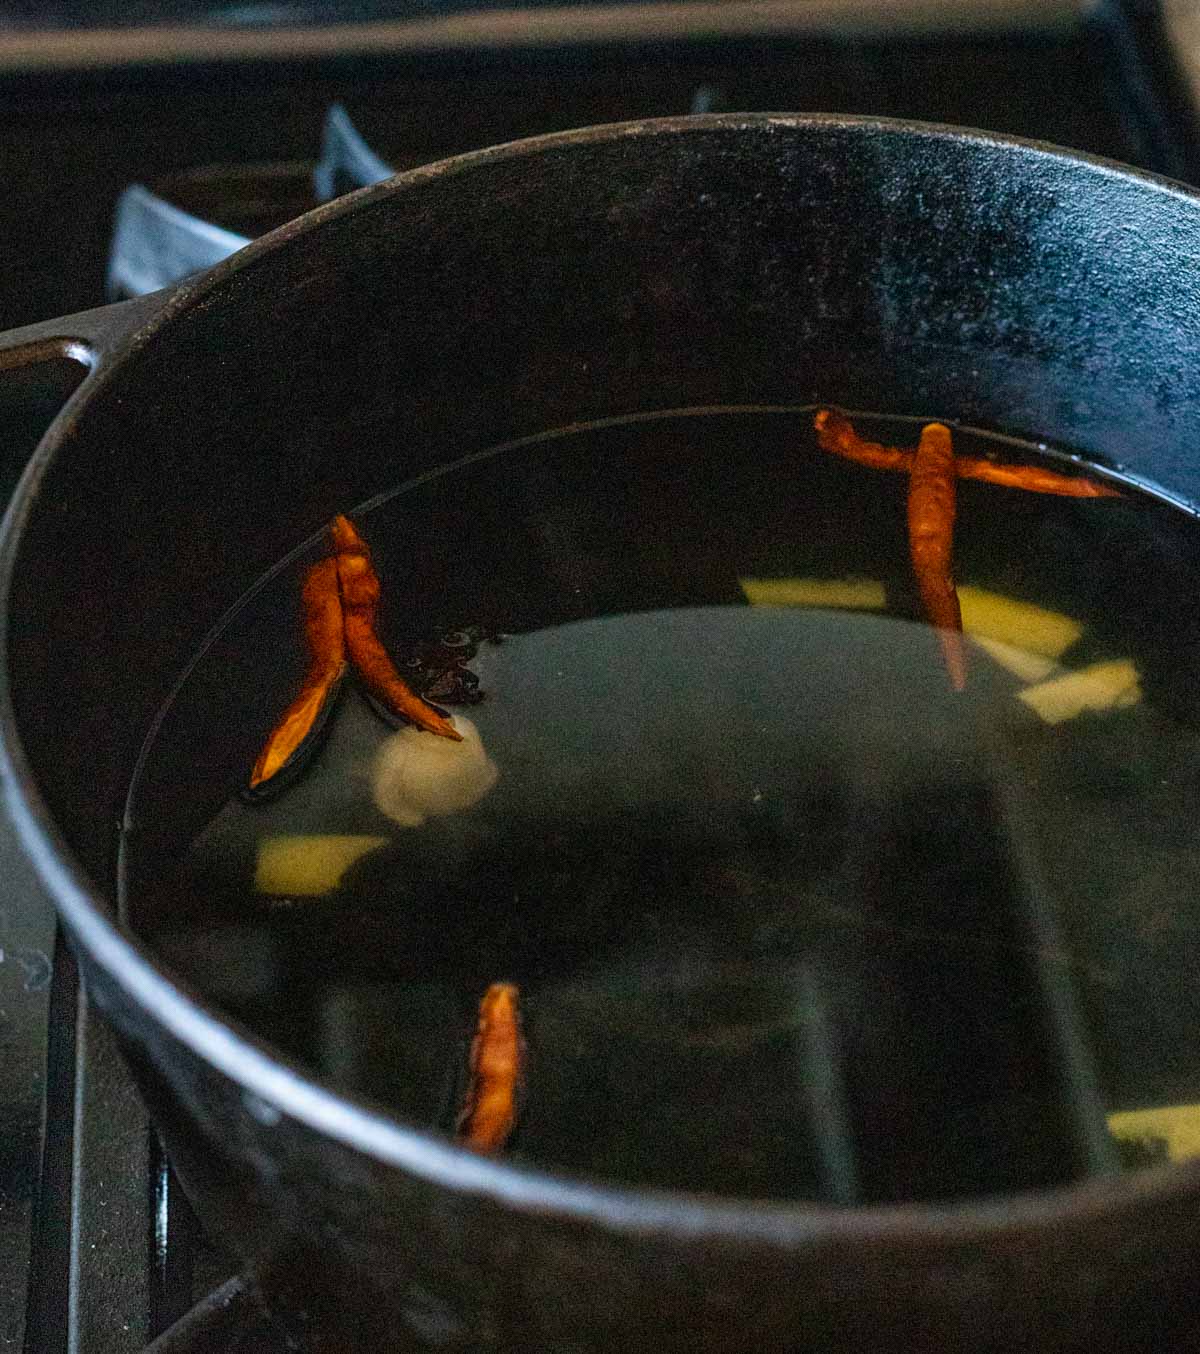
Turn the heat off and add the garlic, ginger, Thai chilies and star anise to the salted water and let sit.
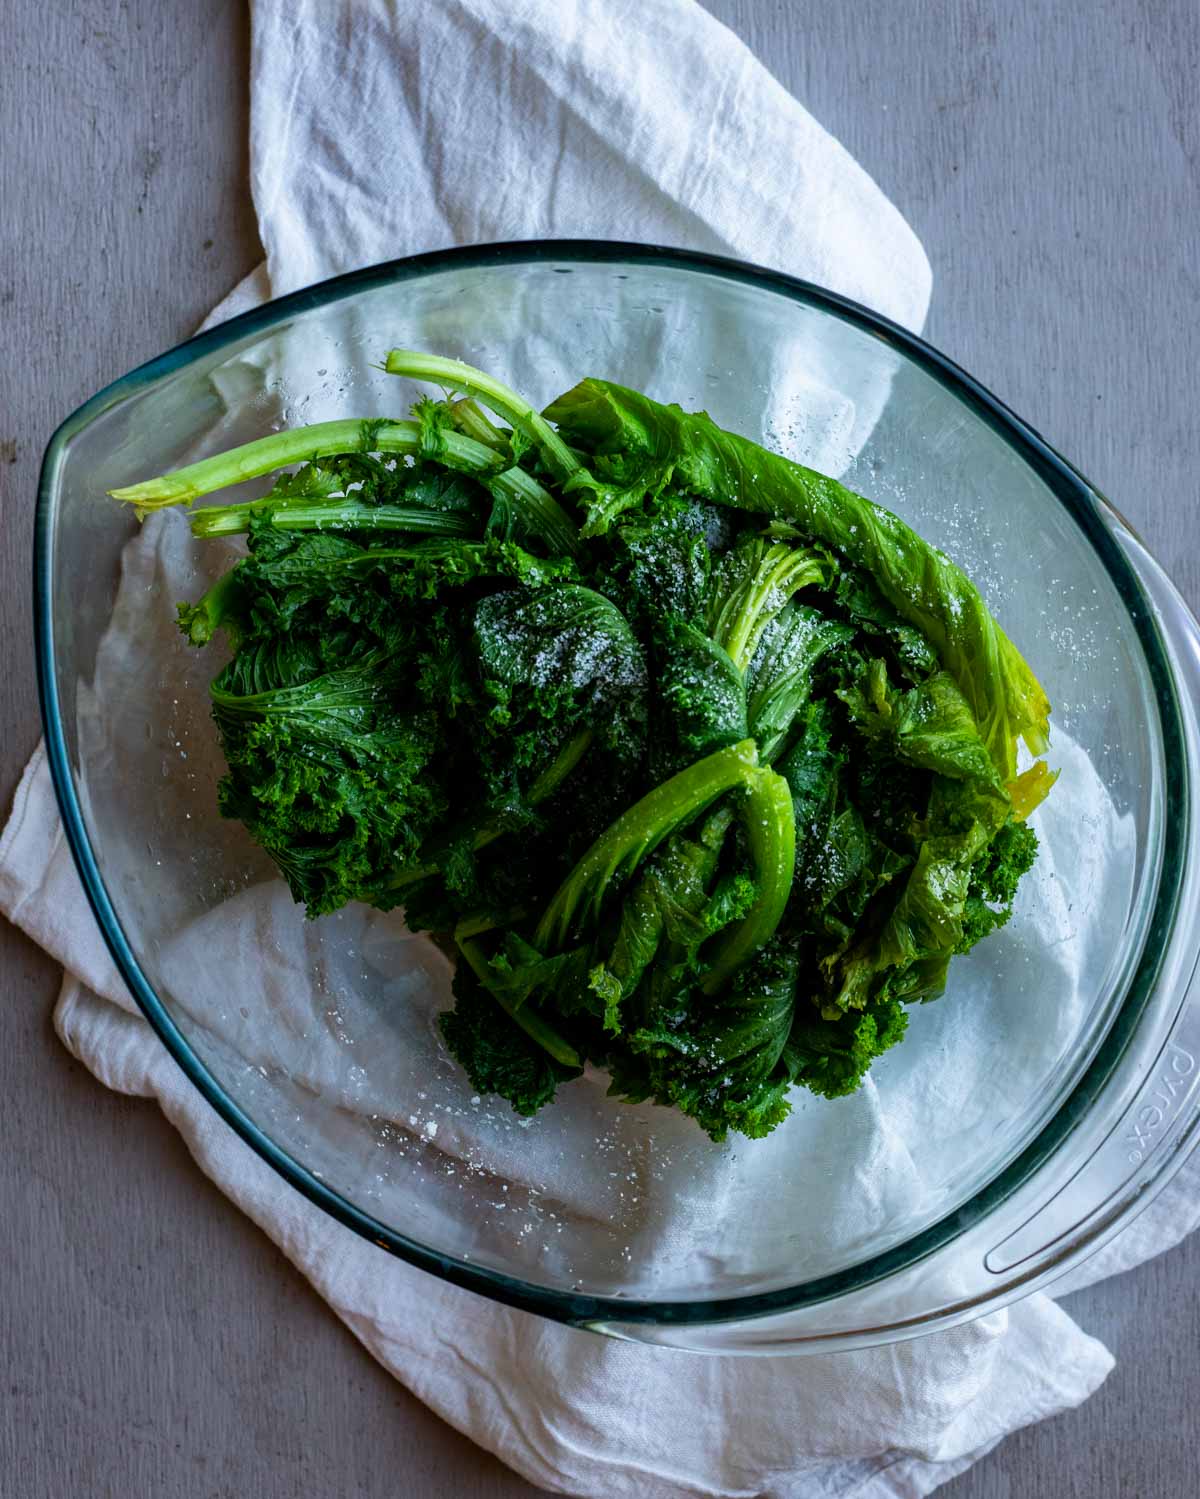
Place the greens in a very large bowl and sprinkle with the remaining tablespoon of salt and the 2 teaspoons of sugar. Let sit for 10 minutes.
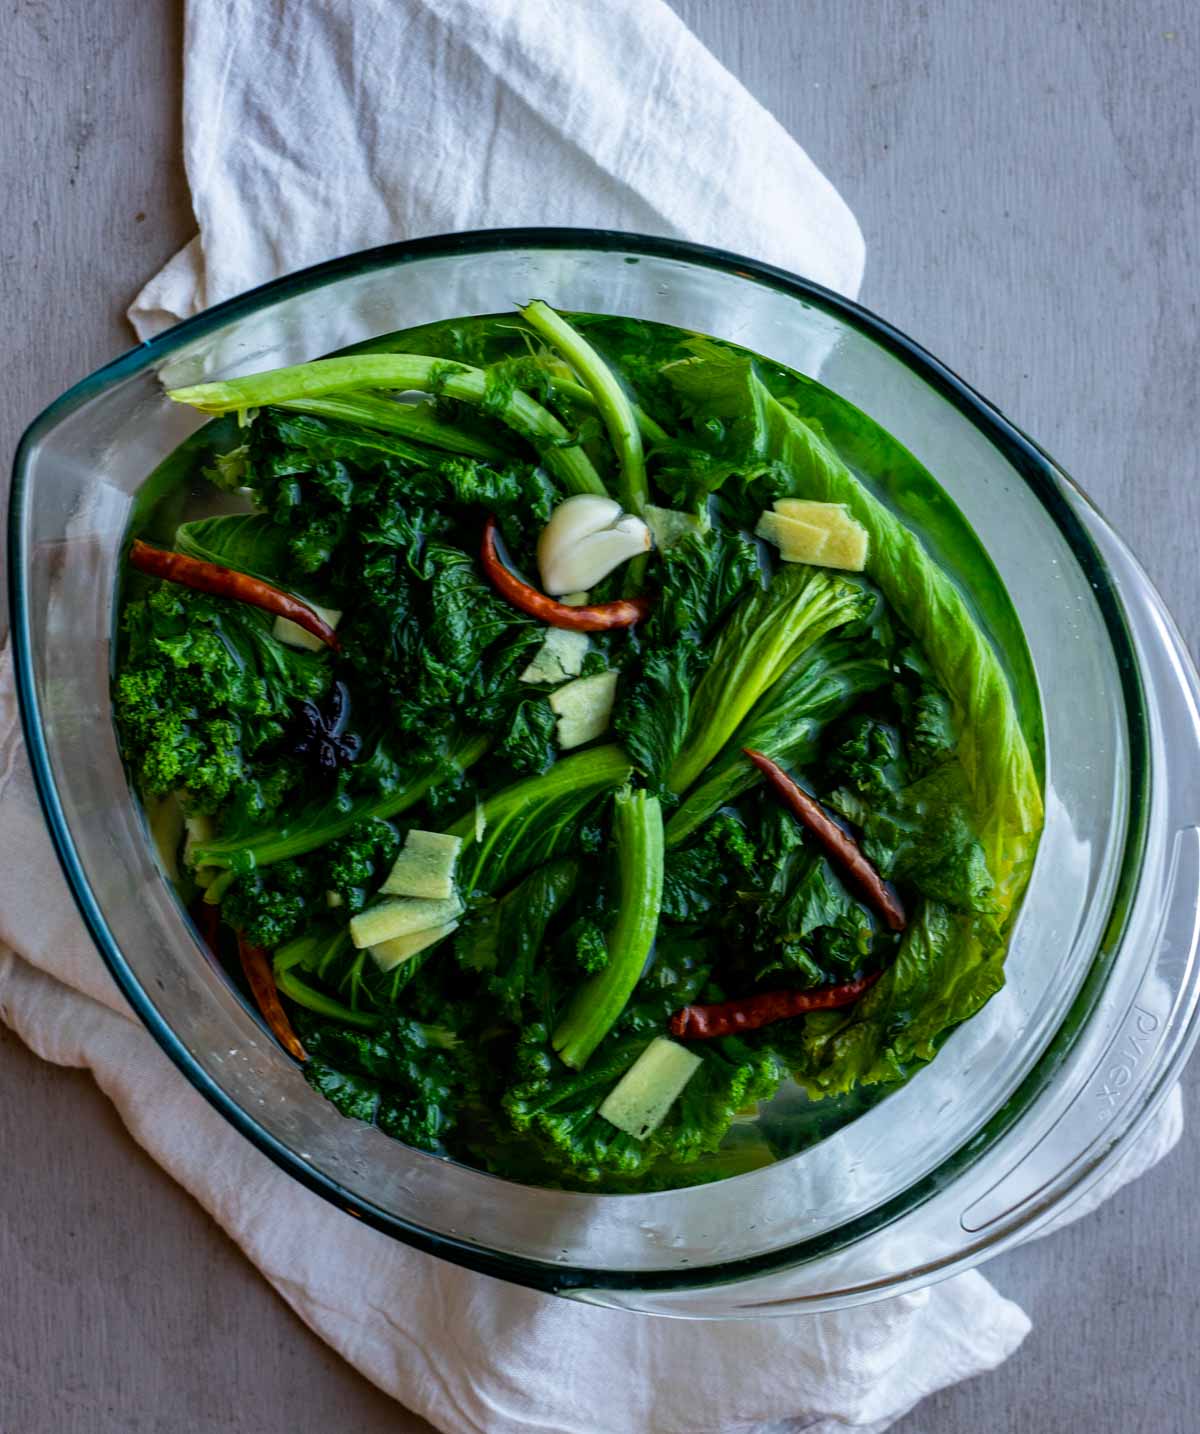
Stir the vinegar into the liquid and pour over the greens. Let it sit on the counter for 4-6 hours.
Place the greens in 2 sterilized jars and pour the liquid over the top. Ensure that the liquid is covering the greens fully and there are no air bubbles.
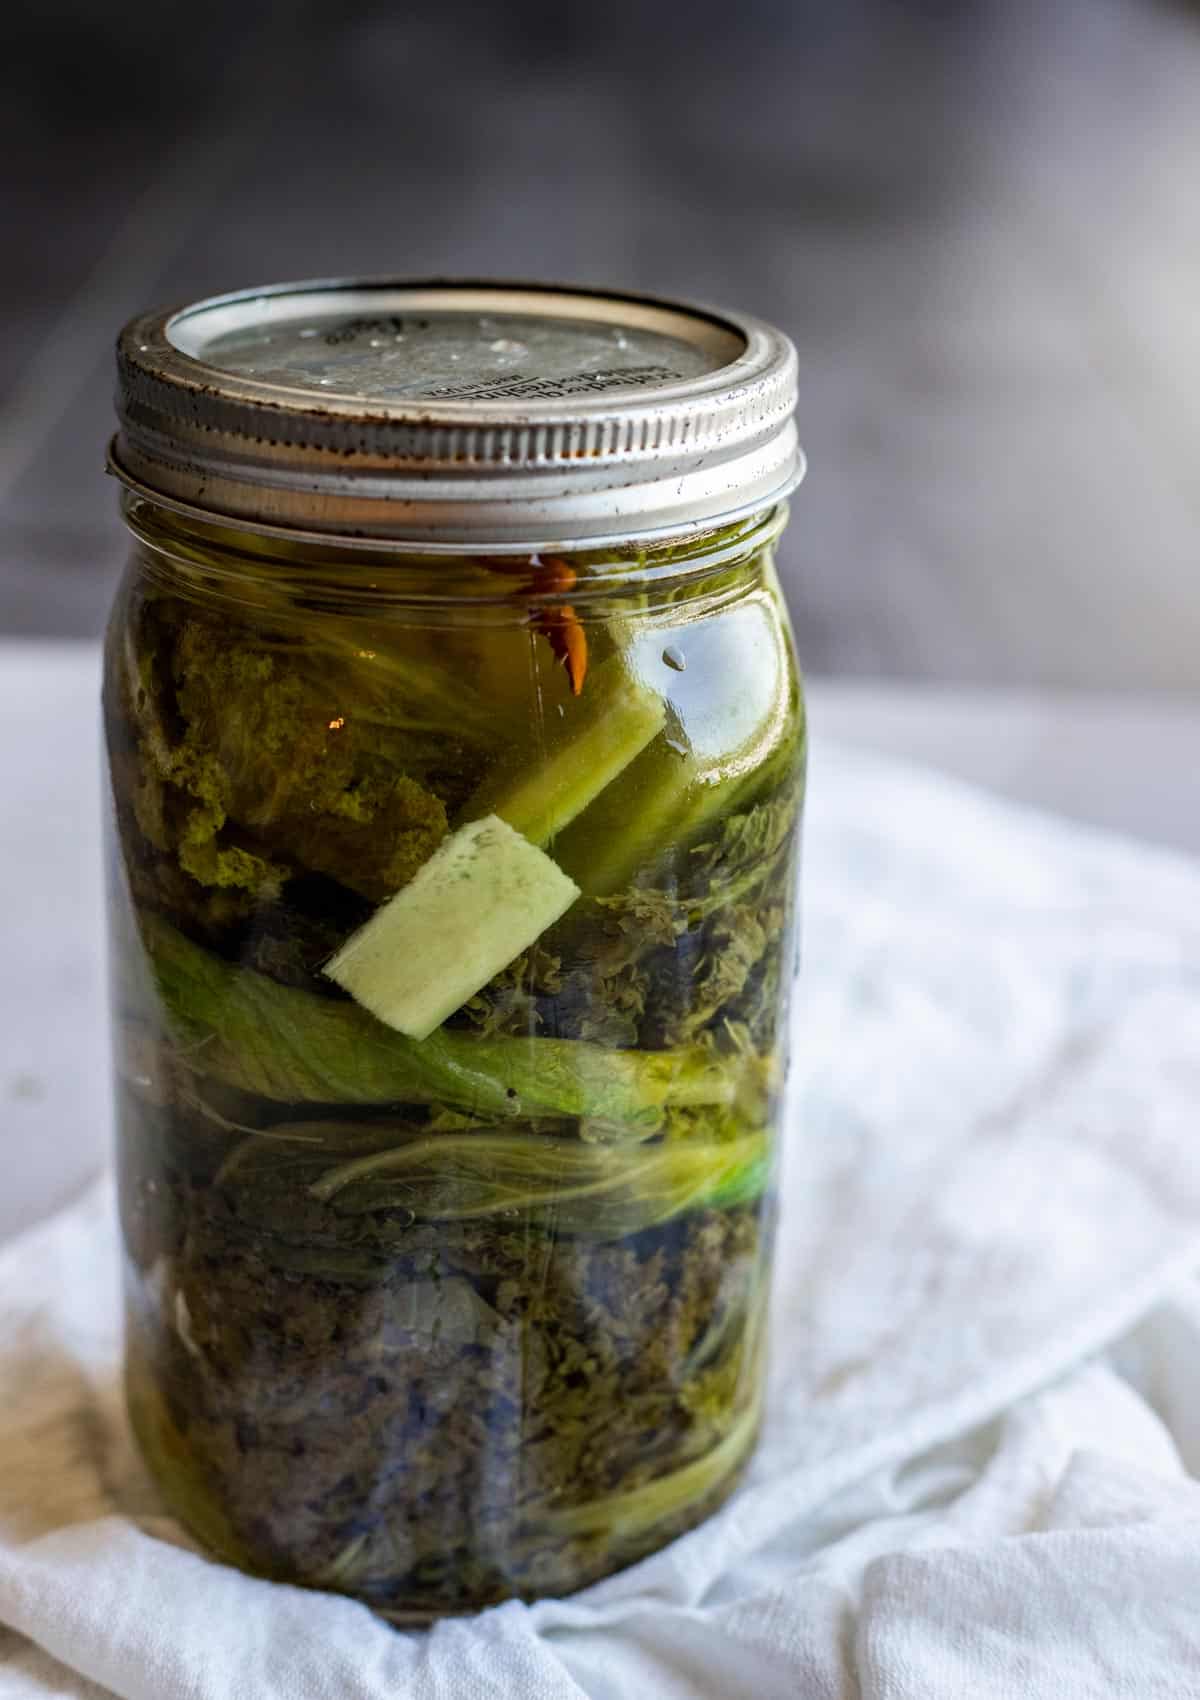
Place the lids on and let sit in a cool, dark place for 2 days. Then store in the fridge for 7 days and enjoy!
Expert tips
- While I used curly mustard greens, you can use another type.
- Make sure to tear the greens into pieces (about 4-5 inches long), so they fit into the jars.
- Be sure to use sterilized jars. If you’re not sure how to do this, here is a quick tutorial on how to sterilize jars.
- For food safety, make sure the greens and other ingredients are fully submerged in the brining liquid.
- You’ll also want to make sure all the air bubbles are out of the jars. You may need to use a knife to move things around and help release the bubbles.
- The pickled greens will last for a few weeks in the fridge, but make sure you use a clean fork or tongs when removing greens from the jar. You don’t want to contaminate and risk promoting mold growth.
- I normally label the jars with the date on the day I start pickling and then again when I open them so I can keep track!
Common questions
Start by trimming the tough stems. Separate all of the leaves and soak them in a large bowl of water for 5-10 minutes. The dirt will sink to the bottom of the bowl or you can use your hands to rub any stubborn dirt off of the leaves. Remove from water and rinse thoroughly.
It will take about 10 days for the greens to pickle. This includes the active time to make them as well as 2 days for them to sit in a cool, dark place and another 7 days for them to sit in the fridge.
We go through 2 jars quickly in our house so they don’t last very long! Once the greens are finished pickling, they will last for a few weeks in the fridge. Just be careful not to encourage mold growth. Ensure the greens stay submerged in the brining liquid and use clean utensils to take some out in order to avoid contamination.
While I haven’t tried pickling collard greens or kale, you should be able to substitute them. Keep in mind that they will have a different taste.
The major difference is that pickling involves soaking food in an acidic brining liquid which results in a sour taste. Fermenting achieves a sour taste without using an acidic liquid.
Serving options
Here are a few recipes to serve with pickled mustard greens:
- Chicken Feet Soup
- Twice Cooked Pork
- Sous Vide Chicken Thighs
- Instant Pot Bak Kut Teh
- Sous Vide Tilapia
If you love this recipe, please leave a star rating and a comment below and let us know your favorite thing about it. We'd also love to connect on Instagram! Follow us at @went_here_8_this for awesome recipes and all sorts of fun food stuff 🙂
Recipe
Chinese Pickled Mustard Greens
Ingredients
- 1 pound mustard greens
- 2 tablespoons salt plus 1 tablespoon
- 1 inch fresh ginger sliced thinly
- 1 garlic clove sliced thinly
- 1 teaspoon sugar
- 1 cup vinegar
- 5 dried Thai chilies
- 2 star anise
Instructions
- Soak the greens in water for 5-10 minutes then rinse thoroughly to remove any dirt.
- Tear into pieces about 4-5" long.
- Blanch the greens in about 4 cups of salted water (use the 2 tablespoon of salt) for 30 seconds and remove.
- Turn the heat off and add the garlic, ginger, Thai chilies and star anise to the salted water and let sit.
- Place the greens in a very large bowl and sprinkle with the remaining tablespoon of salt and the 2 teaspoons of sugar. Let sit for 10 minutes.
- Stir the vinegar into the liquid and pour over the greens. Let it sit on the counter for 4-6 hours.
- Place the greens in 2 sterilized jars and pour the liquid over the top. Ensure that the liquid is covering the greens fully and there are no air bubbles.
- Place the lids on and let sit in a cool, dark place for 2 days. Then store in the fridge for 7 days and enjoy!
Expert Tips:
- While I used curly mustard greens, you can use another type.
- Make sure to tear the greens into pieces (about 4-5 inches long), so they fit into the jars.
- Be sure to use sterilized jars. If you’re not sure how to do this, here is a quick tutorial on how to sterilize jars.
- For food safety, make sure the greens and other ingredients are fully submerged in the brining liquid.
- You’ll also want to make sure all the air bubbles are out of the jars. You may need to use a knife to move things around and help release the bubbles.
- The pickled greens will last for a few weeks in the fridge, but make sure you use use clean fork or tongs when removing greens from the jar. You don’t want to contaminate and risk promoting mold growth.
- I normally label the jars with the date on the day I start pickling and then again when I open them so I can keep track!
Nutrition



Jenny
These were perfectly tangy and delicious - perfect to serve with richer foods.
Danielle
Happy to hear it!