This post may contain affiliate links. Please read my disclosure.
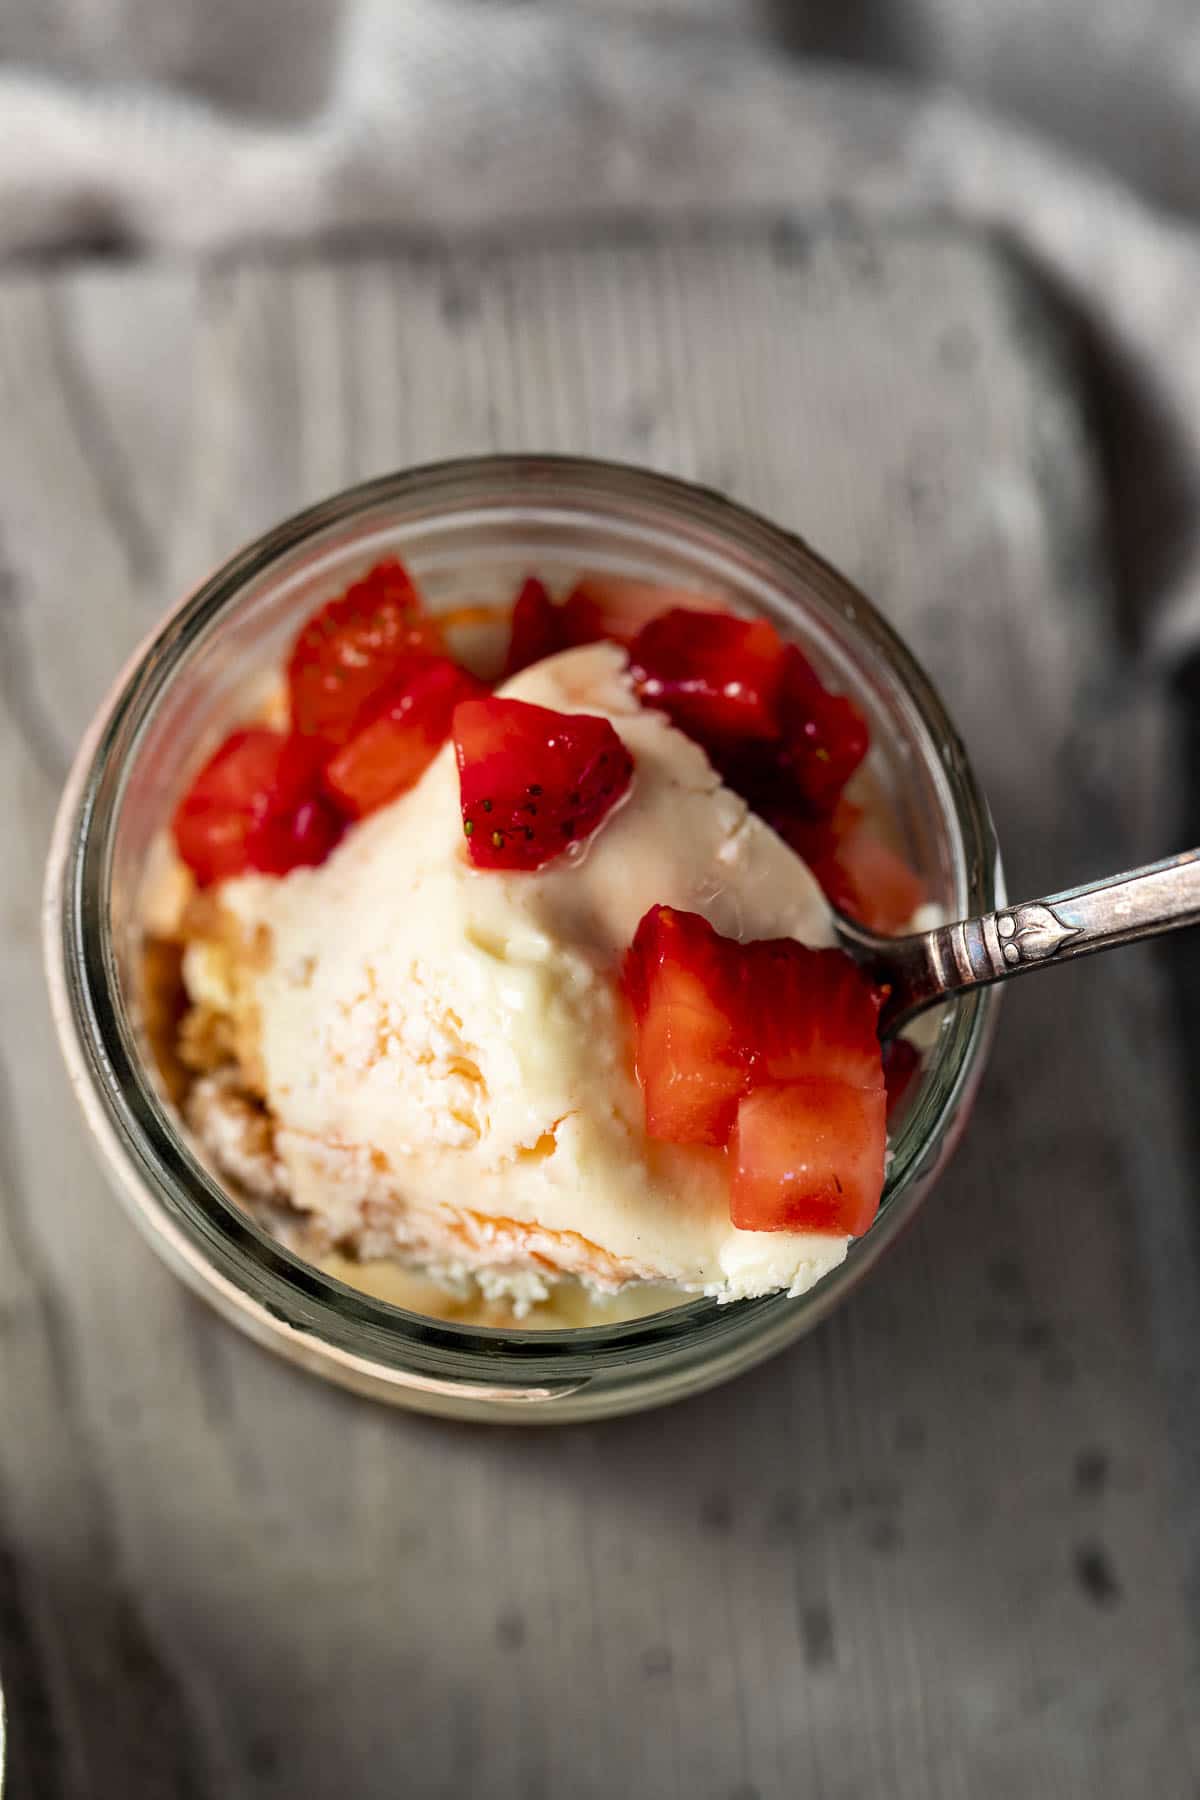
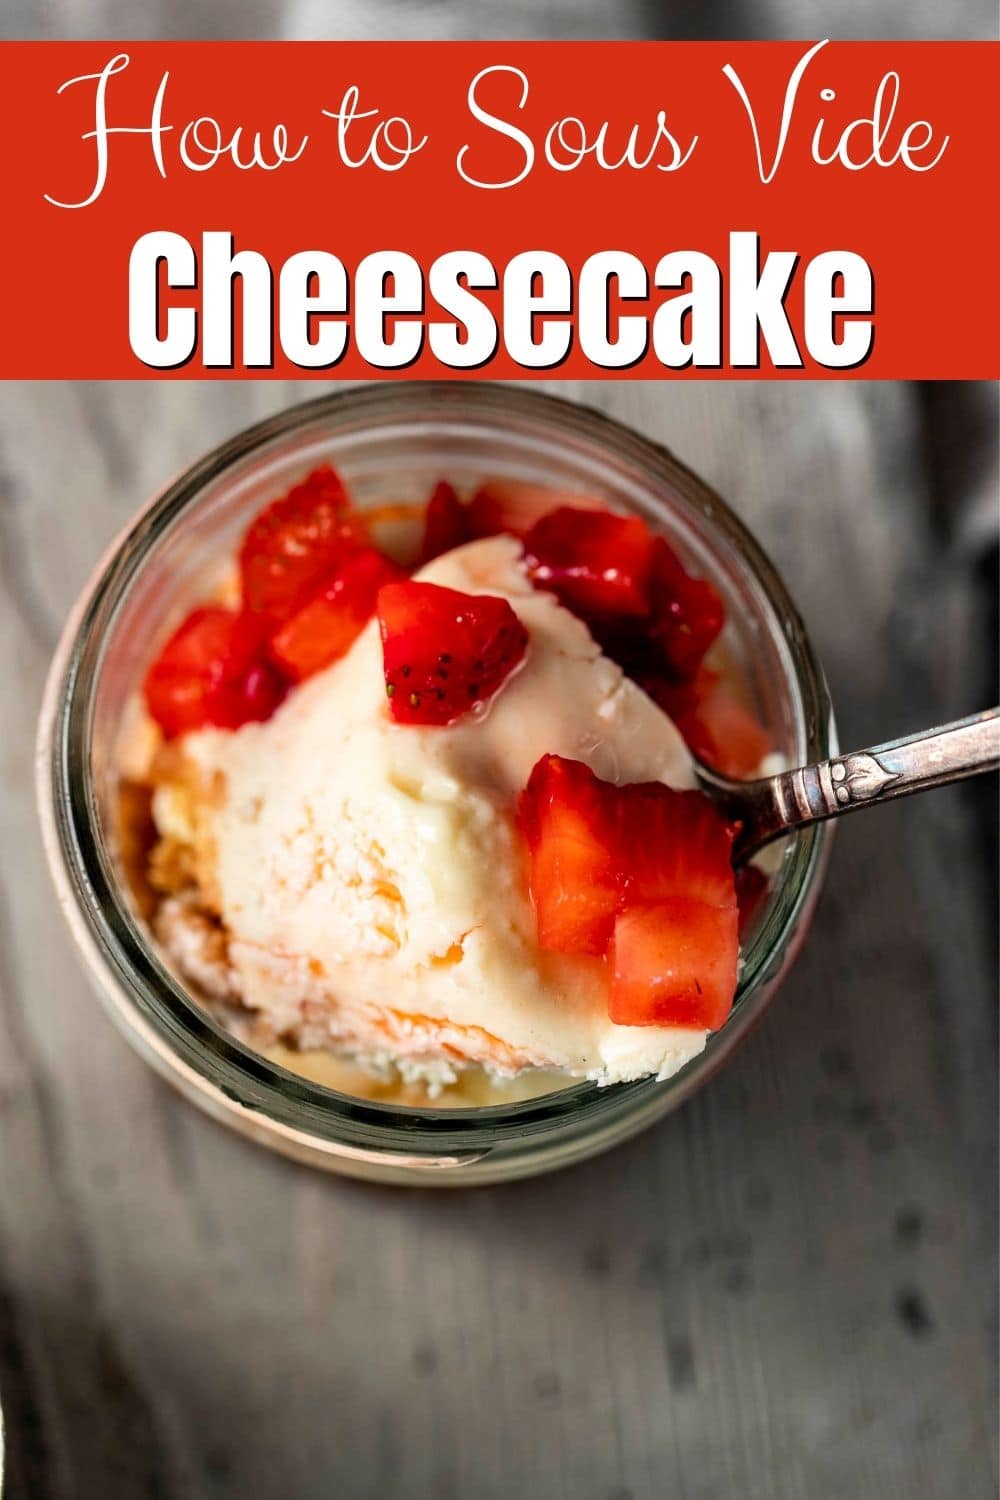
Sous Vide Cheesecake is a foolproof way to make the perfect cheesecake! These make ahead, individual cheesecakes are made in glass jars and turn out smooth and creamy thanks to the controlled temperature of a sous vide water bath. No over baking and no cracks!
When I’m looking for a fancy dessert to serve at dinner parties, I usually turn to cheesecake. Rich and creamy cheesecakes are a crowd pleaser, and there are so many ways to change them up!
This silky smooth Japanese souffle cheesecake has been a go-to recipe of mine for years, and for the holidays, these no-bake peppermint cheesecake bars never disappoint.
For date nights, I like to make this air fryer cheesecake recipe. It’s quick and easy and makes two mini cheesecakes, so it’s perfect for sharing!
(Another fancy date night recipe is this sous vide creme brûlée, sous vide custard, sous vide pots de creme or this sous vide flan!)
If you find cheesecakes a little intimidating and worry about cracked tops and over baking, this sous vide recipe is for you! The precise temperature of the sous vide water bath results in the perfect cheesecake every time!
Jump to:
Why this recipe works
- Cheesecakes are normally baked in a water bath (to help prevent cracking), so they’re well suited to being made in the sous vide.
- The controlled temperature of the water bath takes the guesswork out of knowing when your cheesecake is baked. There’s no need to worry about an under baked or over baked cheesecake, and there is no cracking! Try these 10+ sous vide desserts too!
- The individual servings are perfect for a large crowd and the portable glass jars make them ideal for bringing to potlucks.
- These mini cheesecakes can easily be made ahead and stored in the fridge until ready to serve with your favorite topping. Options included below!
Want to Save This Recipe?
Enter your email & I'll send it to your inbox. Plus, get great new recipes from me every week!
By submitting this form, you consent to receive emails from Went Here 8 This.
What is Sous Vide?
Sous vide is basically a method of cooking using what is called an immersion circulator (i.e. the sous vide machine). This immersion circulator circulates water in a temperature controlled water bath at a certain temperature to perfectly cook your food every time.
Because the temperature doesn't change, and it keeps your meat (or dessert, veggies, etc.) at the same temperature, your risk of overcooking becomes very minimal.
To learn even more about sous vide cooking, head over and read "what is sous vide cooking and the benefits of sous vide cooking."
What is the Water Displacement Method?
The displacement method is where you slowly submerge a ziplock bag in water pushing the air out of the top of the bag (the bag should be slightly open at the top to allow air to escape).
Use a clip (I use sous vide magnets) to clip the bag to the side to keep it from floating and getting air and/or water inside.
Tools Used
You will also want to check out these posts on the best sous vide containers and the best sous vide bags for more information!
Other sous vide recipes
Equipment used for this recipe
This recipe does require that you have a few things.
Sous Vide Cooker: I use the Anova Culinary Sous Vide Precision Cooker for all my sous vide cooking. There is a more beginners model and a pro version, but I find this one is the perfect in between option.
Plastic Container for Water Bath: You can technically use any large container that the sous vide cooker will attach to. However, I use this Everie 12 quart sous vide container as it is super convenient and I can leave the water in for 1-2 weeks at a time to prevent waste.
4 Ounce Canning Jars: I use these wide mouth ball canning jars and they work just perfect for this recipe. Plus they are cute for serving.
Ingredients
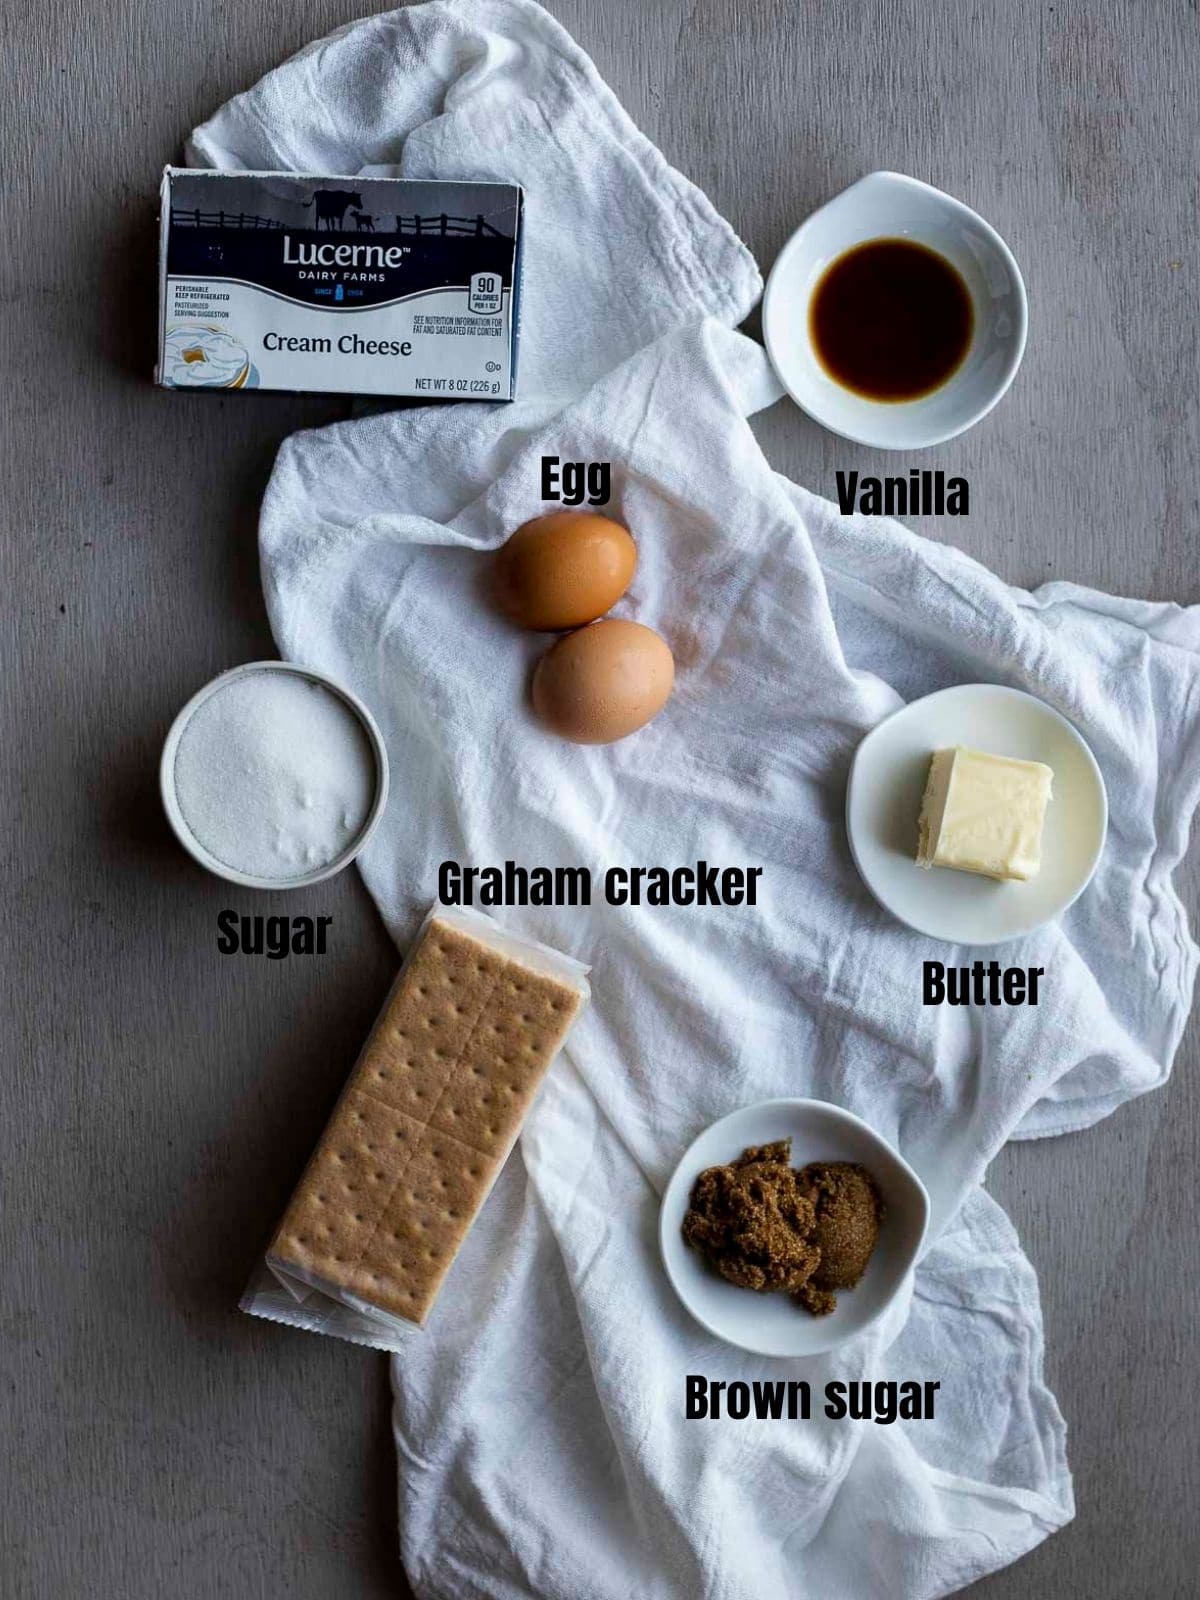
You’ll need 16 ounces of cream cheese for the cheesecake filling. For the creamiest texture, you’ll want to use full fat cream cheese and make sure it’s brought to room temperature before mixing it with the other ingredients.
The other filling ingredients include 2 eggs, 1 teaspoon of vanilla extract and ⅓ cup of granulated sugar.
The graham cracker crust is easy to make and consists of 3 tablespoons of salted butter, 2 tablespoons of brown sugar and ¾ cup of crushed graham crackers.
For the best results, you’ll want to grind your graham crackers in a food processor or blender, or you can save time and buy graham cracker crumbs!
If you only have unsalted butter, just add a pinch of salt to the crust mixture.
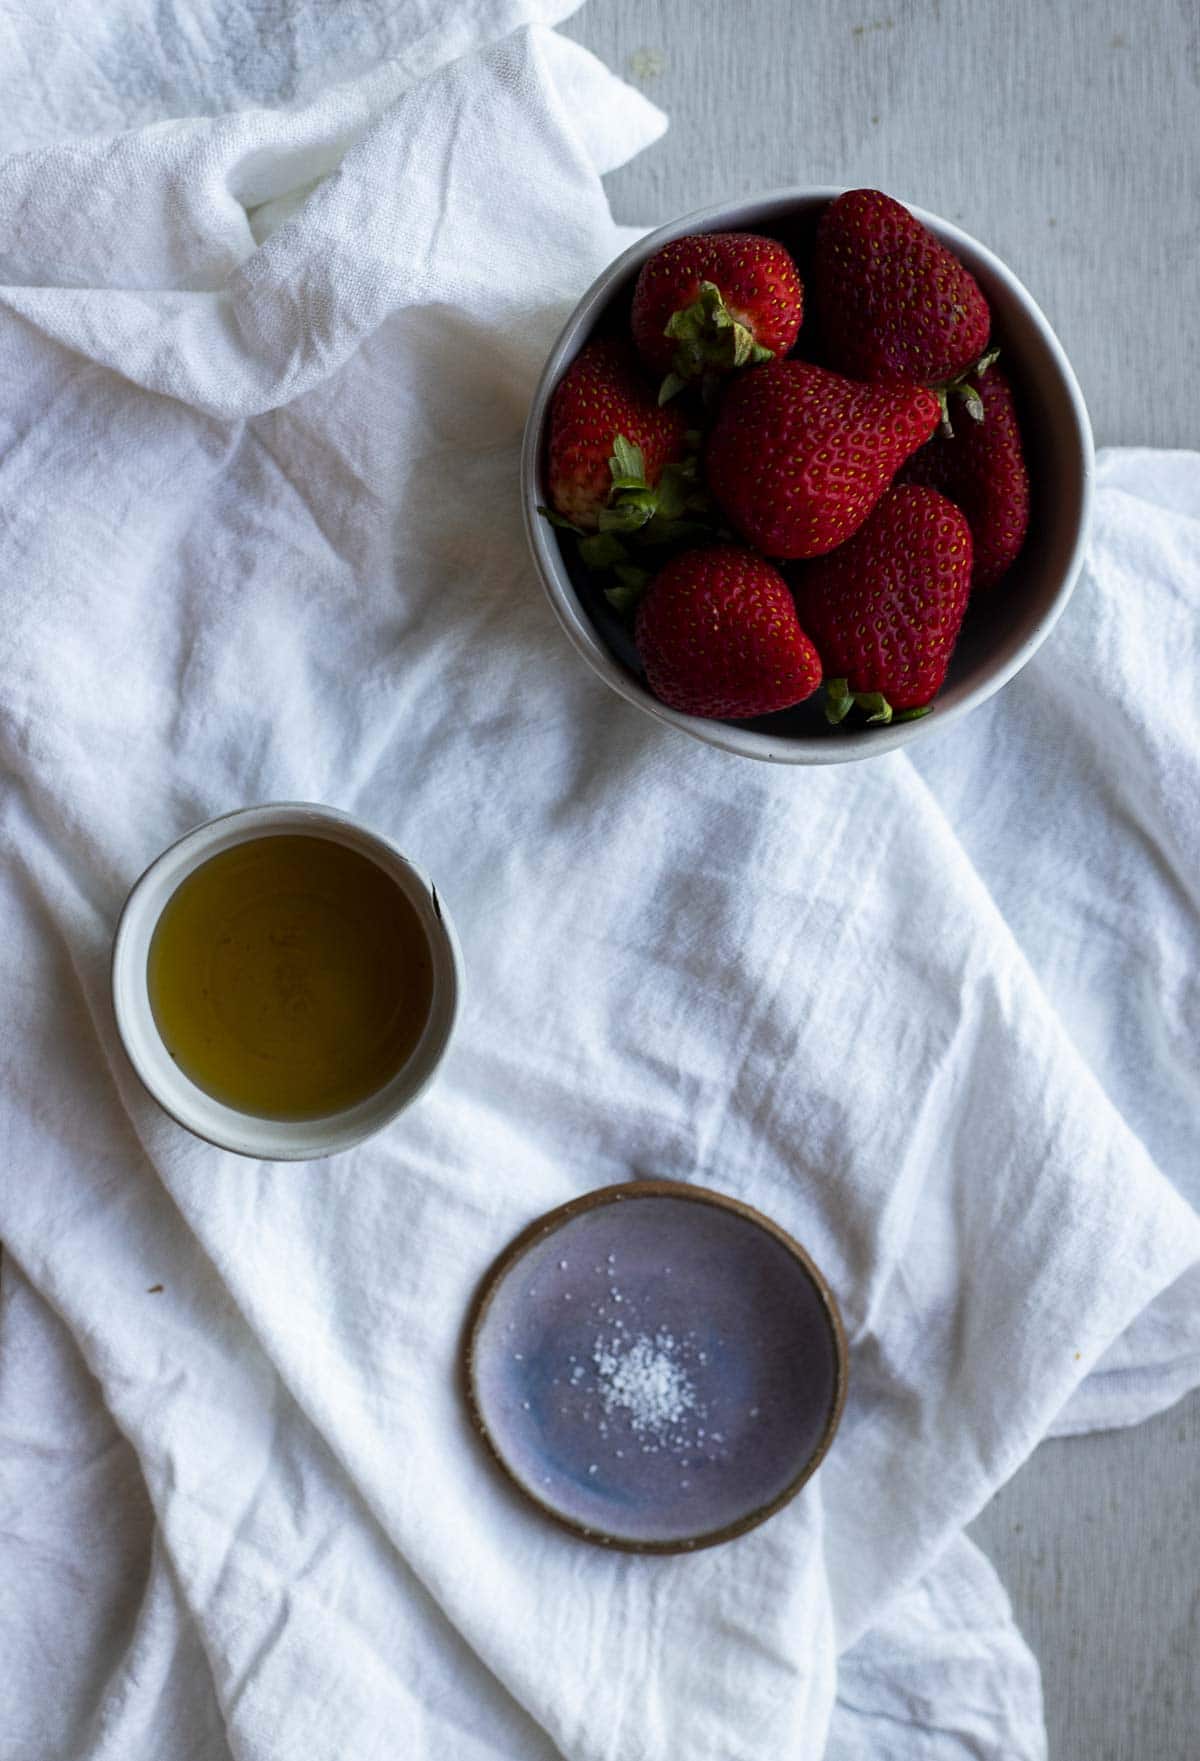
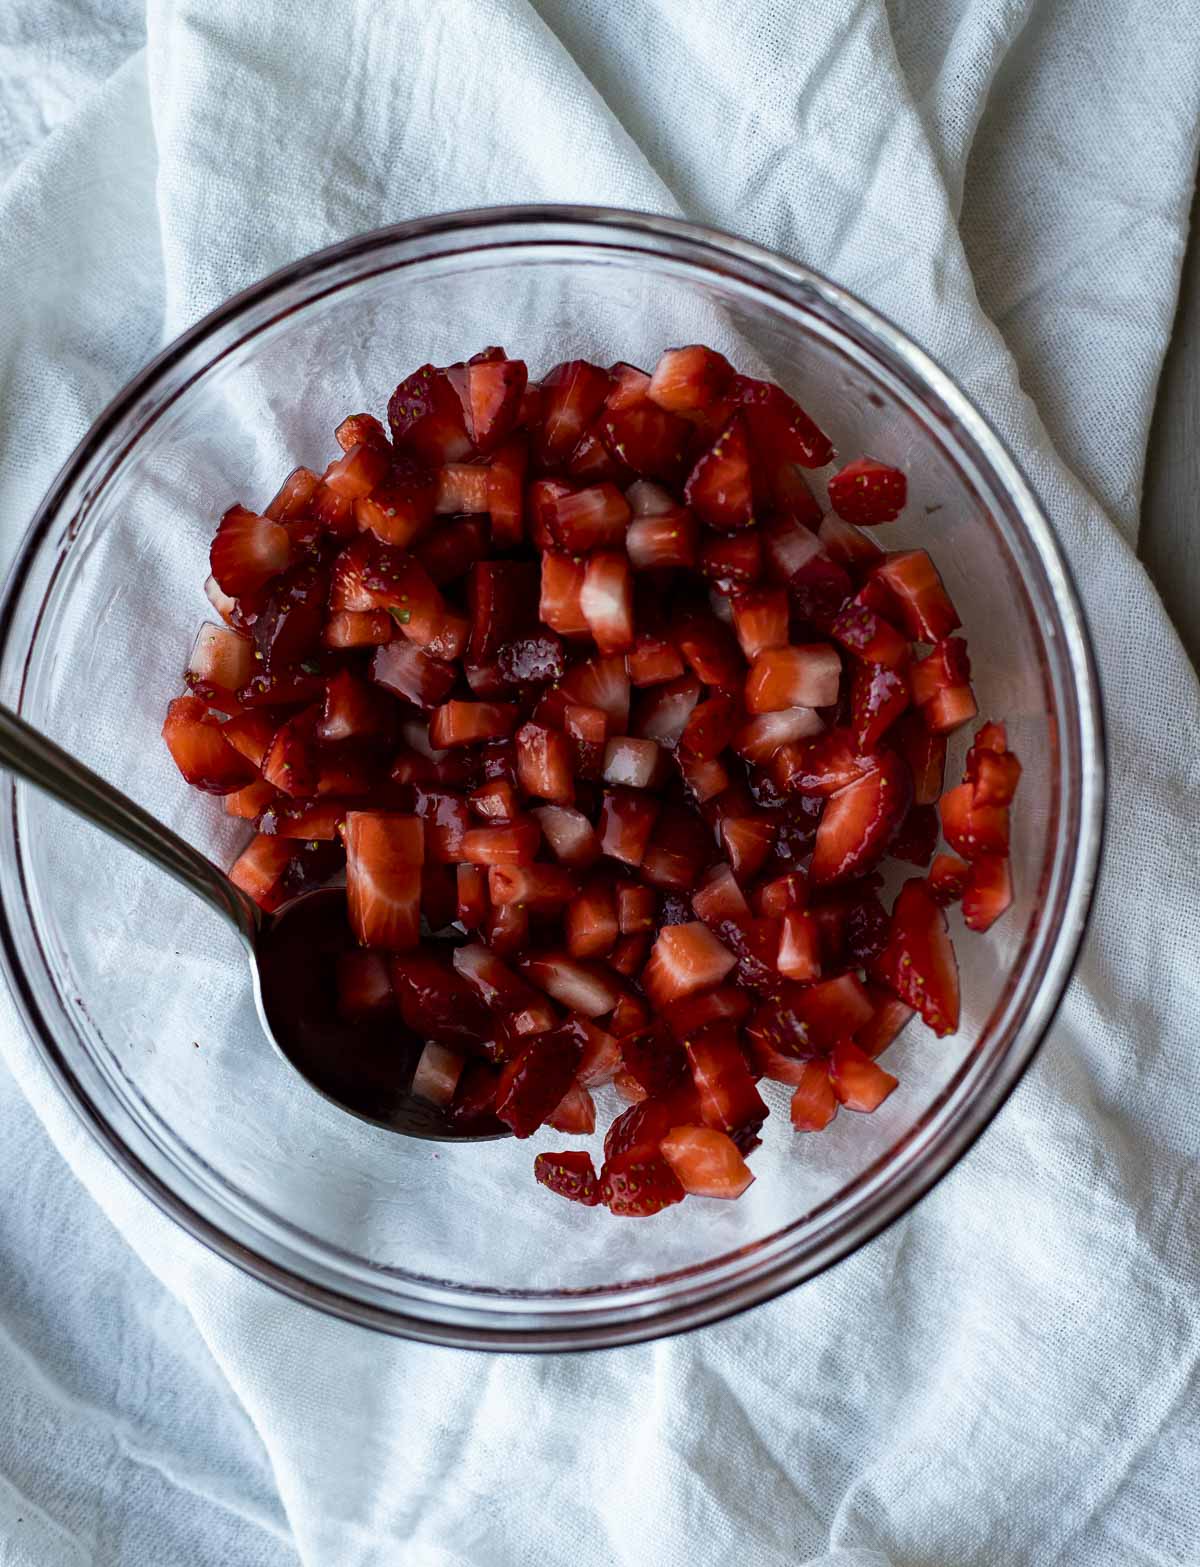
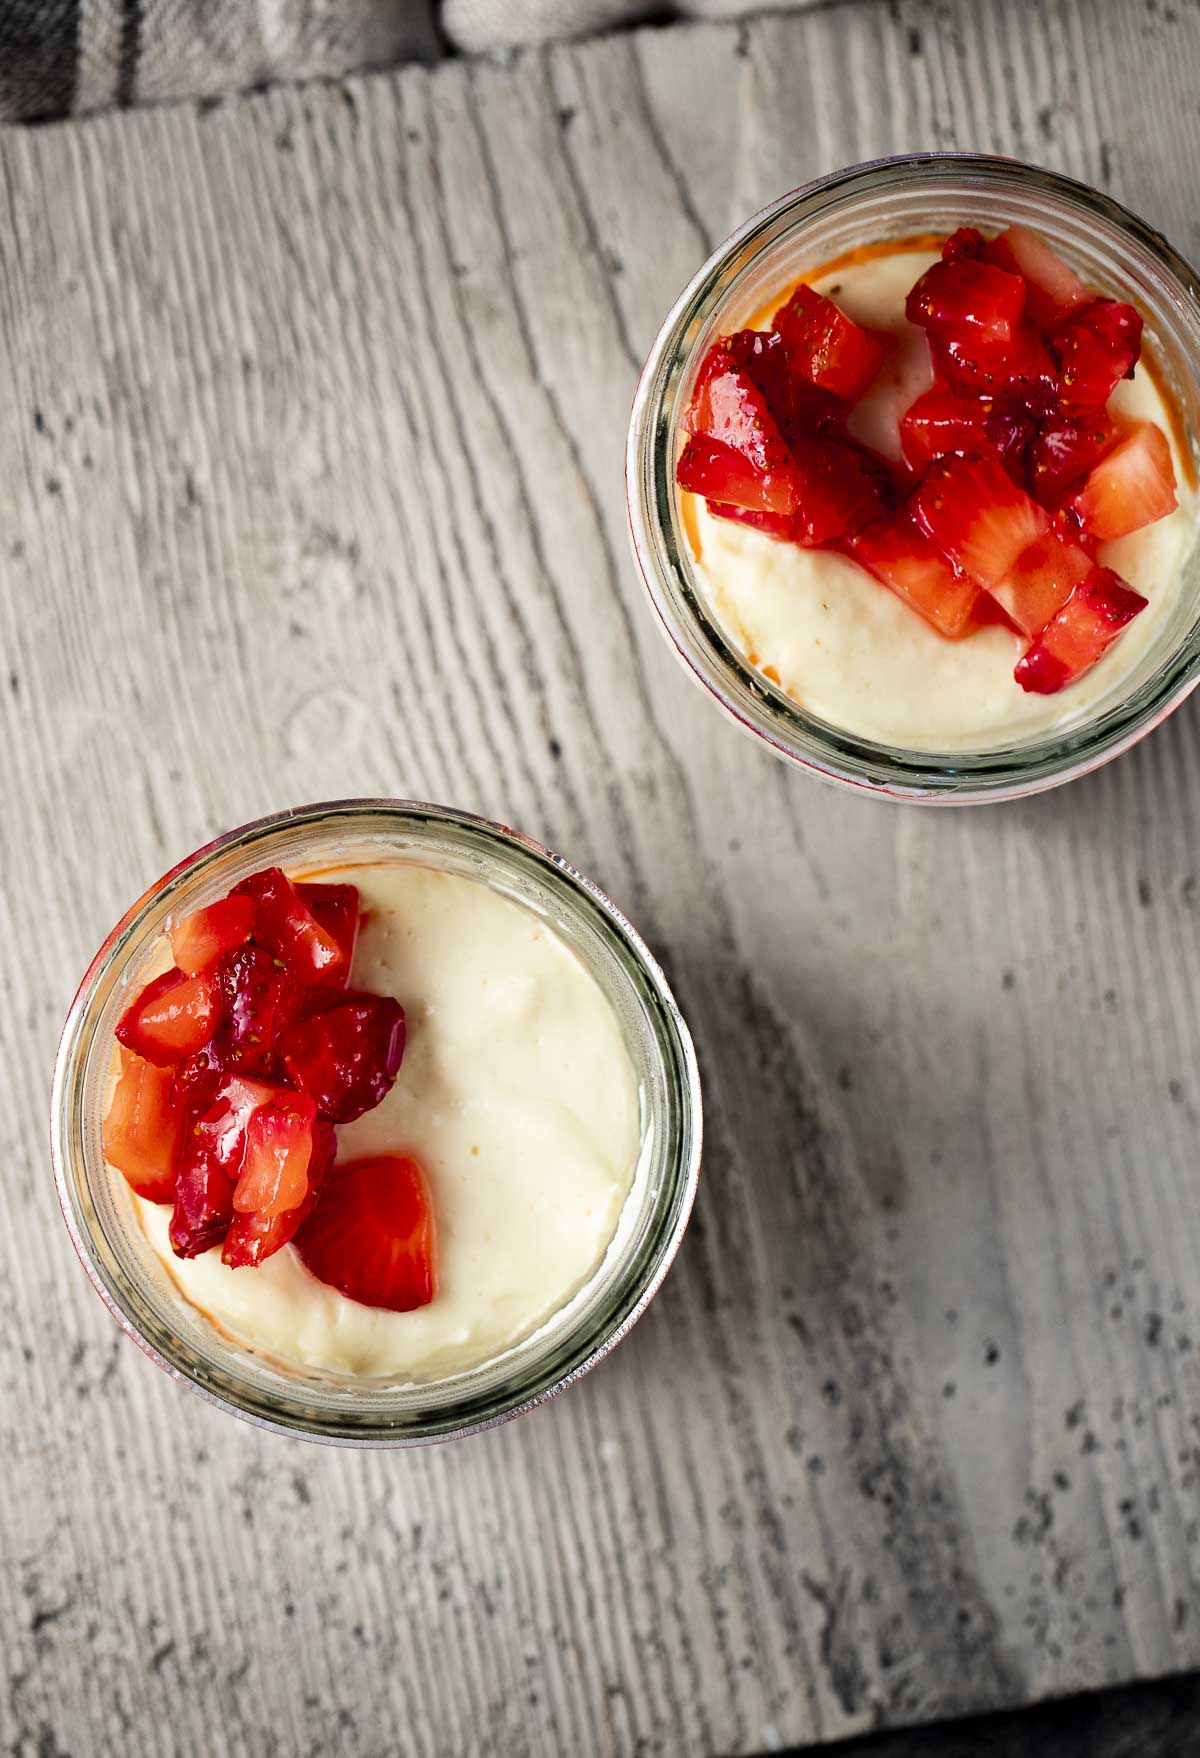
I love strawberry cheesecake, so I opted to top these mini cheesecakes with strawberries. It’s a simple topping made with just 1 cup of diced strawberries, 1 tablespoon of honey and a tiny pinch of salt.
Step by step instructions
Preheat the oven to 350F degrees.
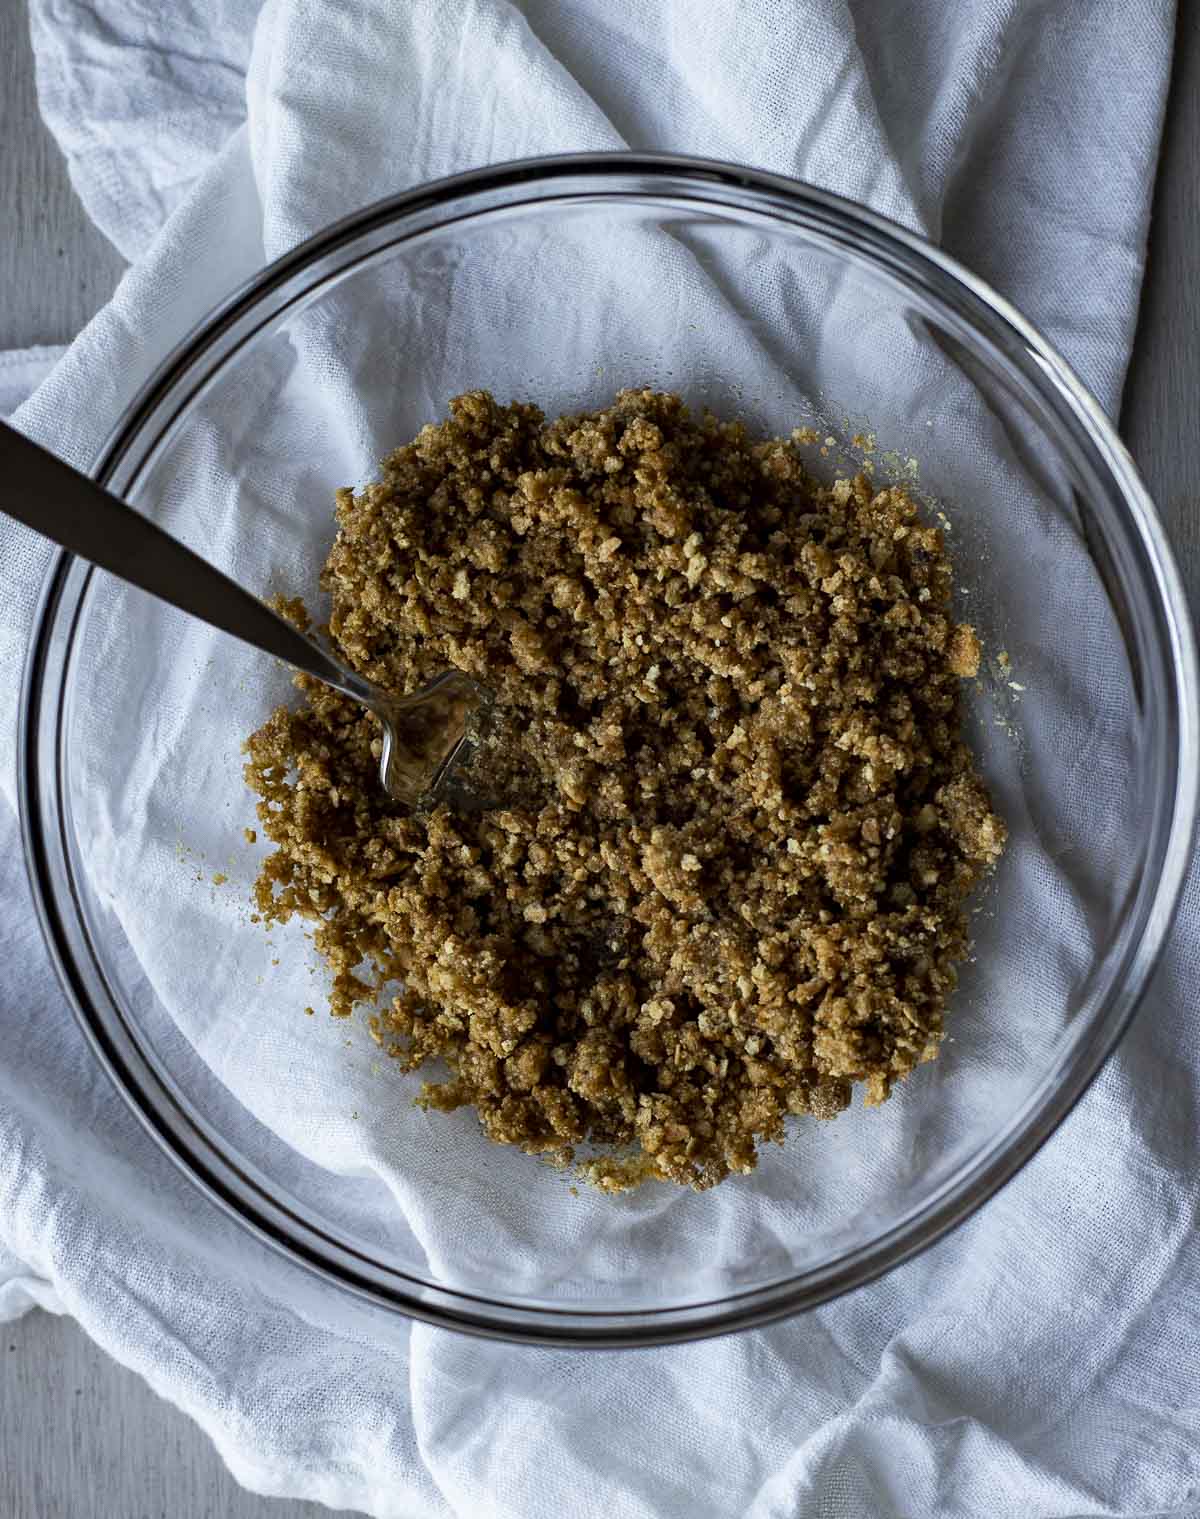
Combine the crust ingredients and place about 1 tablespoon in each of the jars. (You’ll need eight 4-ounce ball jars with lids). Press the crust mixture down into the jars.
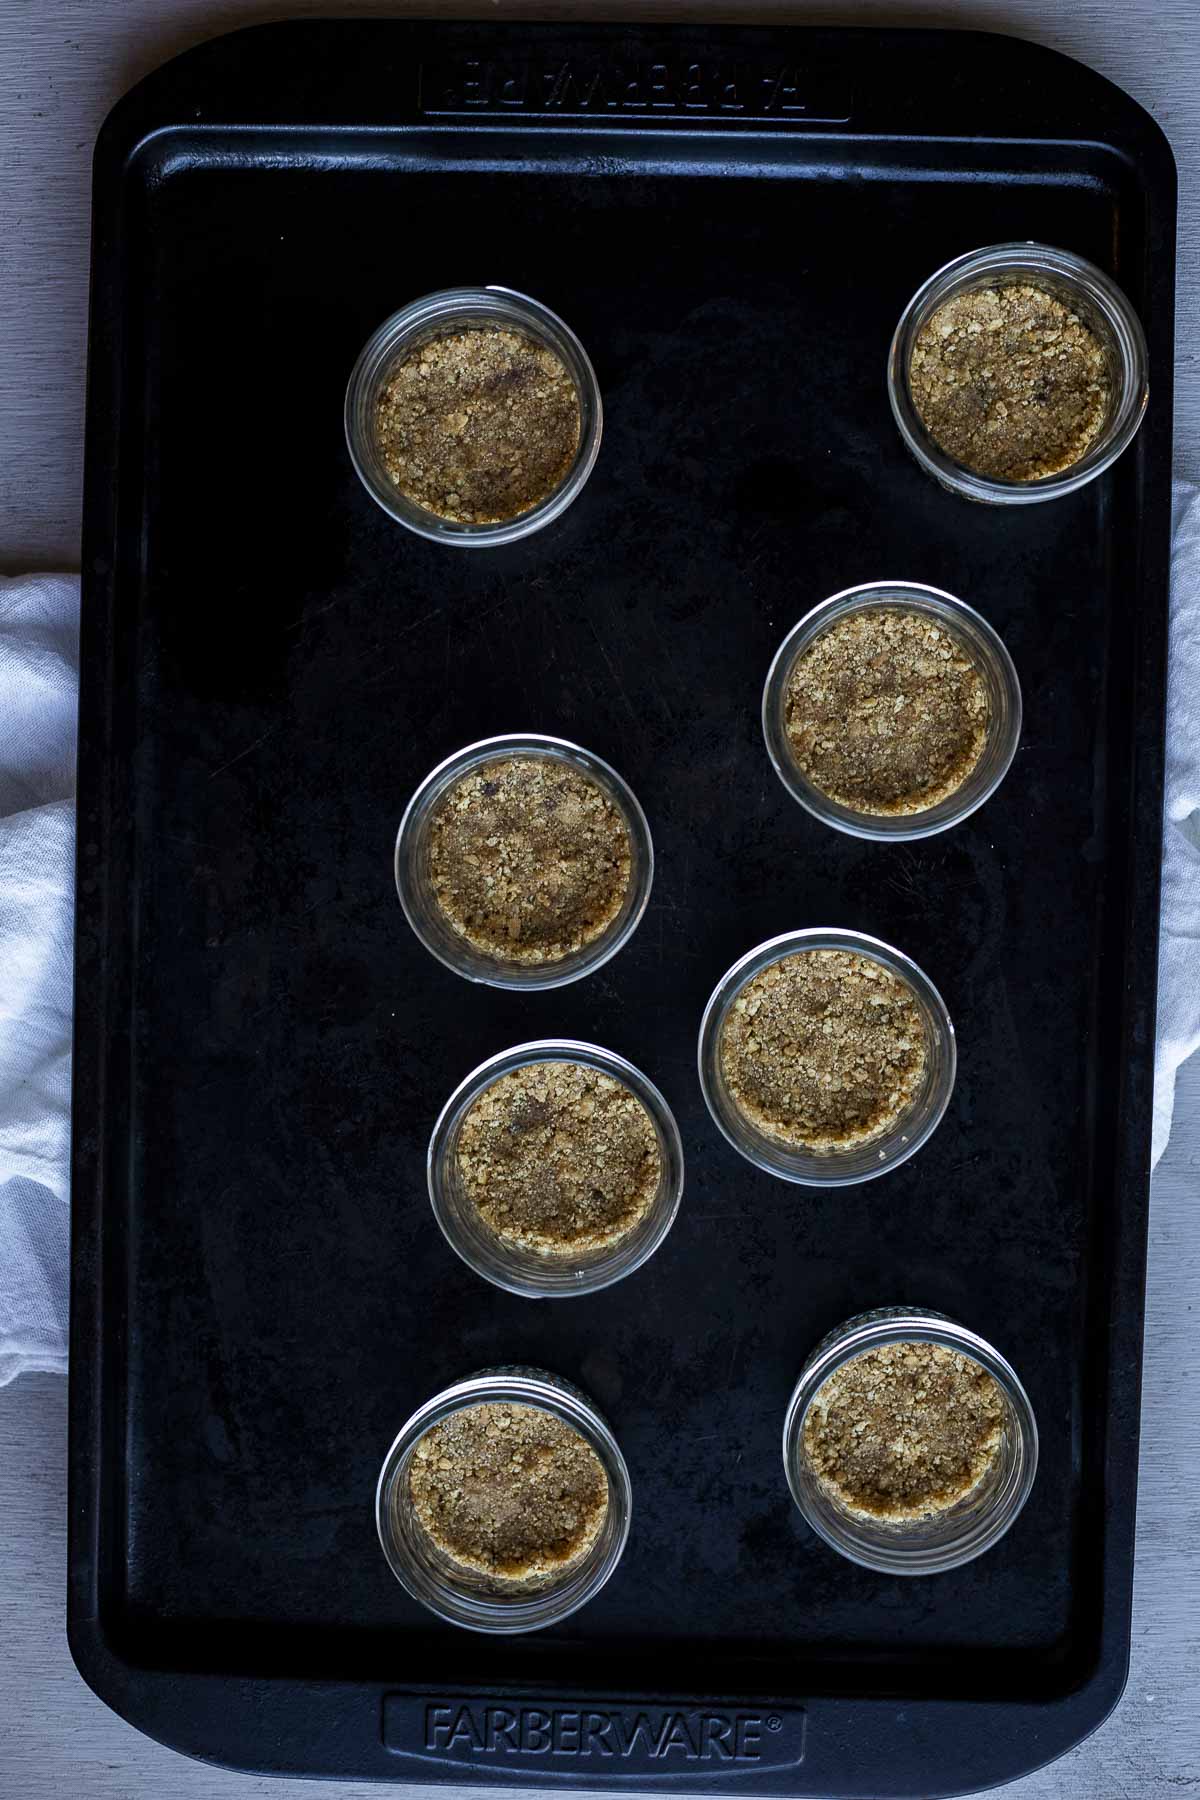
Place the jars (without lids) on a baking sheet and bake for 10 minutes. Remove and let cool fully (about 30-45 minutes).
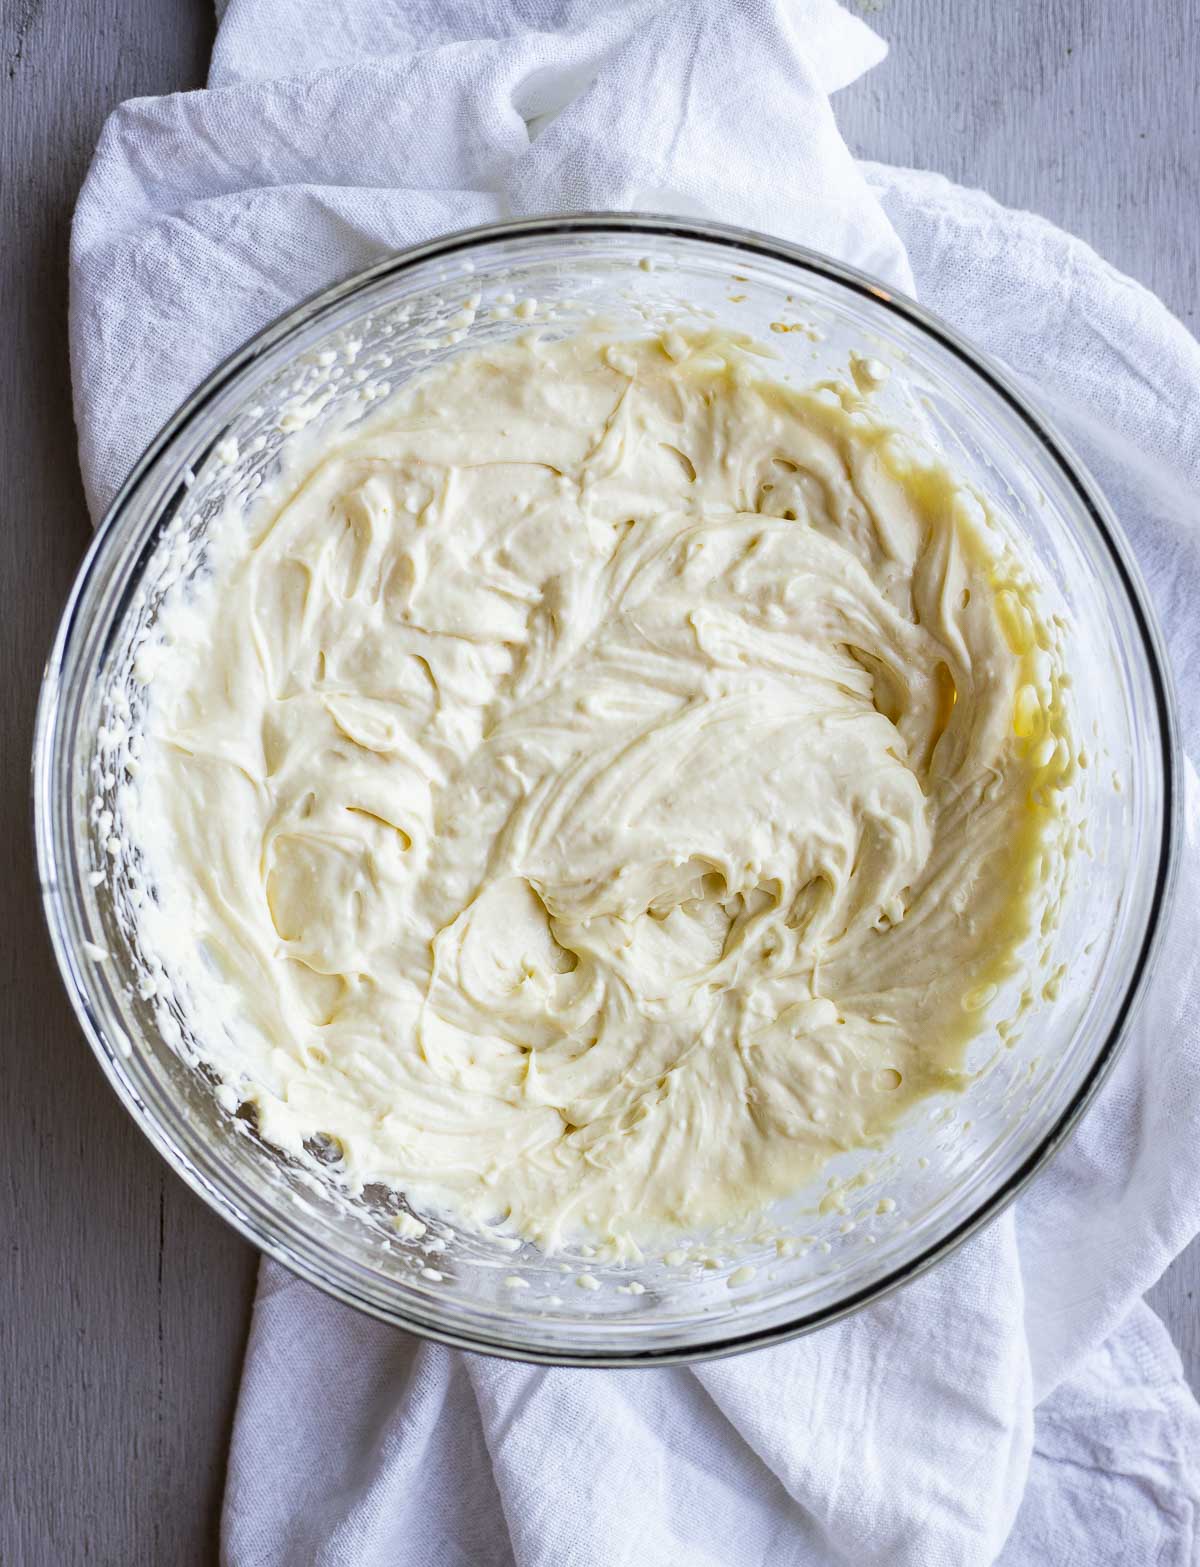
Use a counter top or hand mixer to beat the cream cheese, vanilla, eggs and sugar together until slightly fluffy with no lumps (about 1-2 minutes).
Divide the cream cheese mixture among the 8 jars. Place the lids on and screw "finger tight." This means you tighten the lids until you barely feel it grab the jar. It should be easy to twist the lid back off with your fingertips.
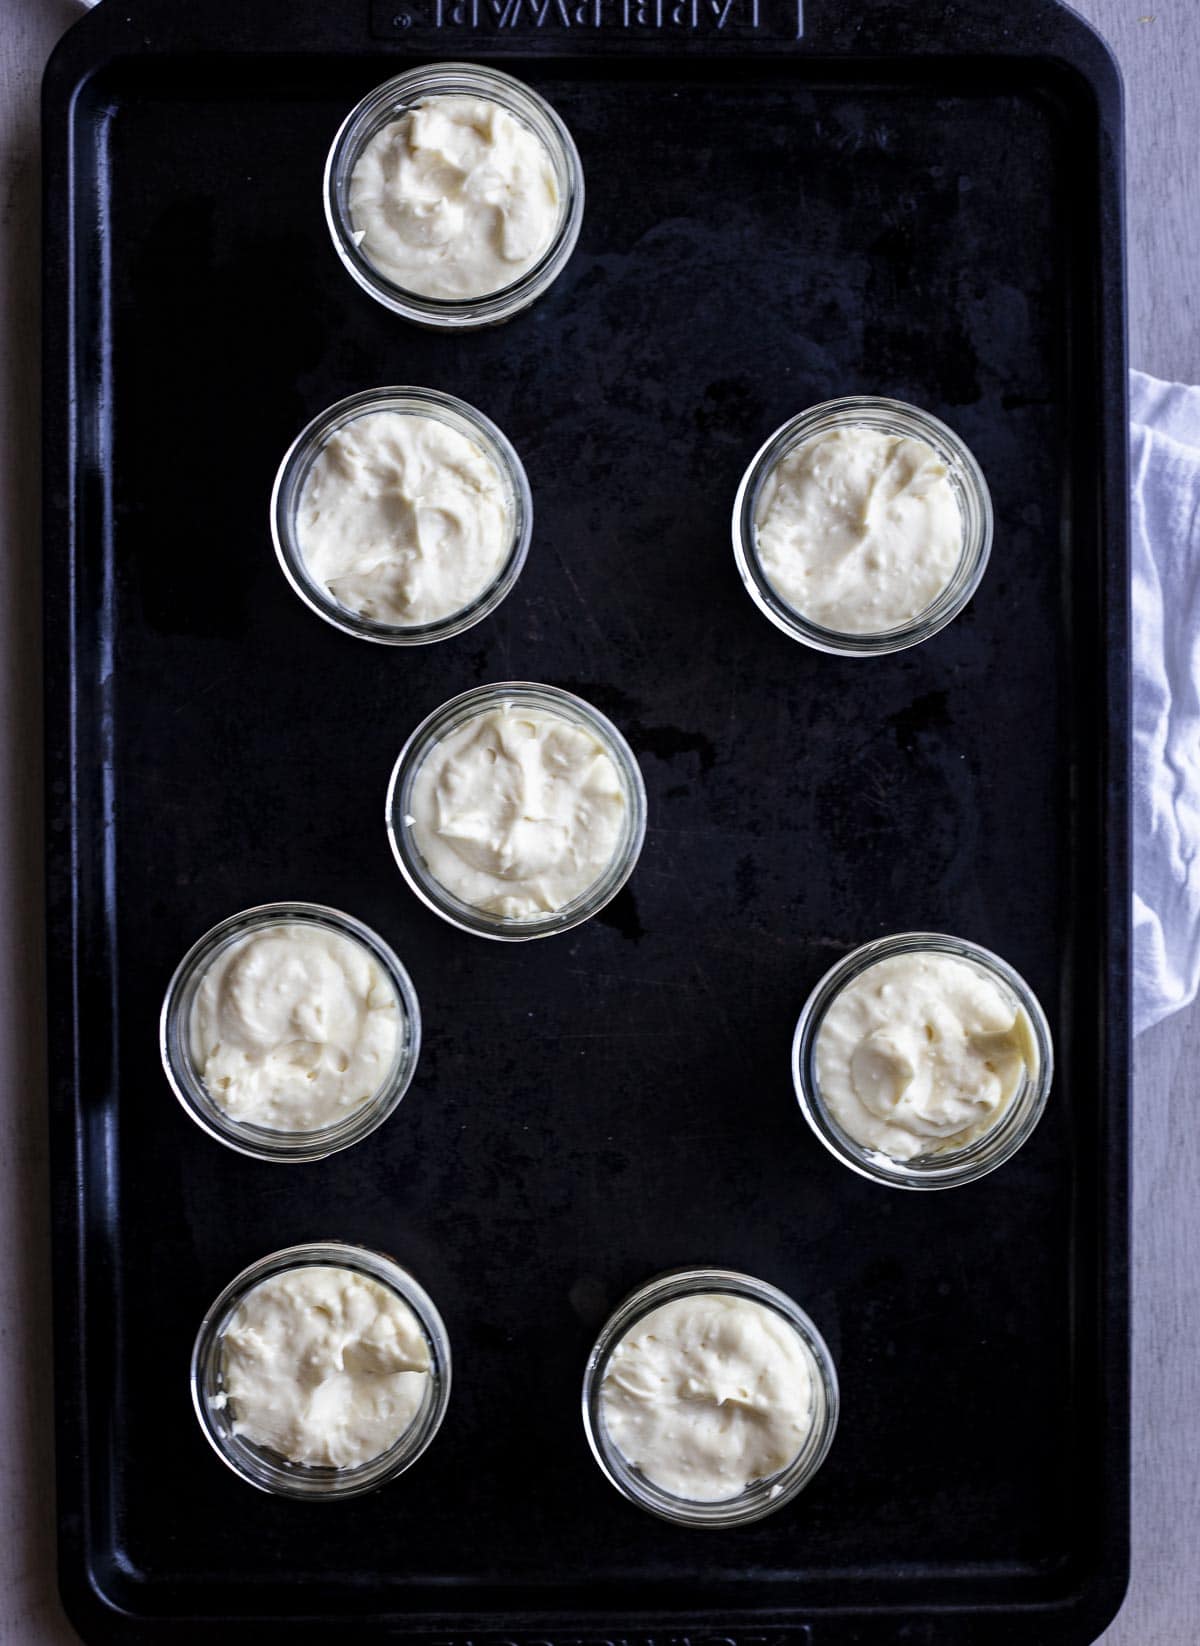
Place in the sous vide water bath and set the temperature to 176F degrees. Cook for 90 minutes.

While the cheesecake cooks, combine the strawberries, honey and salt in a bowl and mix together. Let sit in the fridge until ready to serve.
Remove the cheesecake jars from the water bath with tongs (the water is very hot) and place on a heat proof surface.
Let the jars cool to the touch, then remove the lids. Let the cheesecakes cool at room temperature for 30-60 minutes.
Wipe the moisture off the top of the lids and place back on the cheesecake jars.
Let the cheesecakes chill in the fridge for 3-4 hours to allow them to fully set before serving.
Serve with the strawberry mixture.
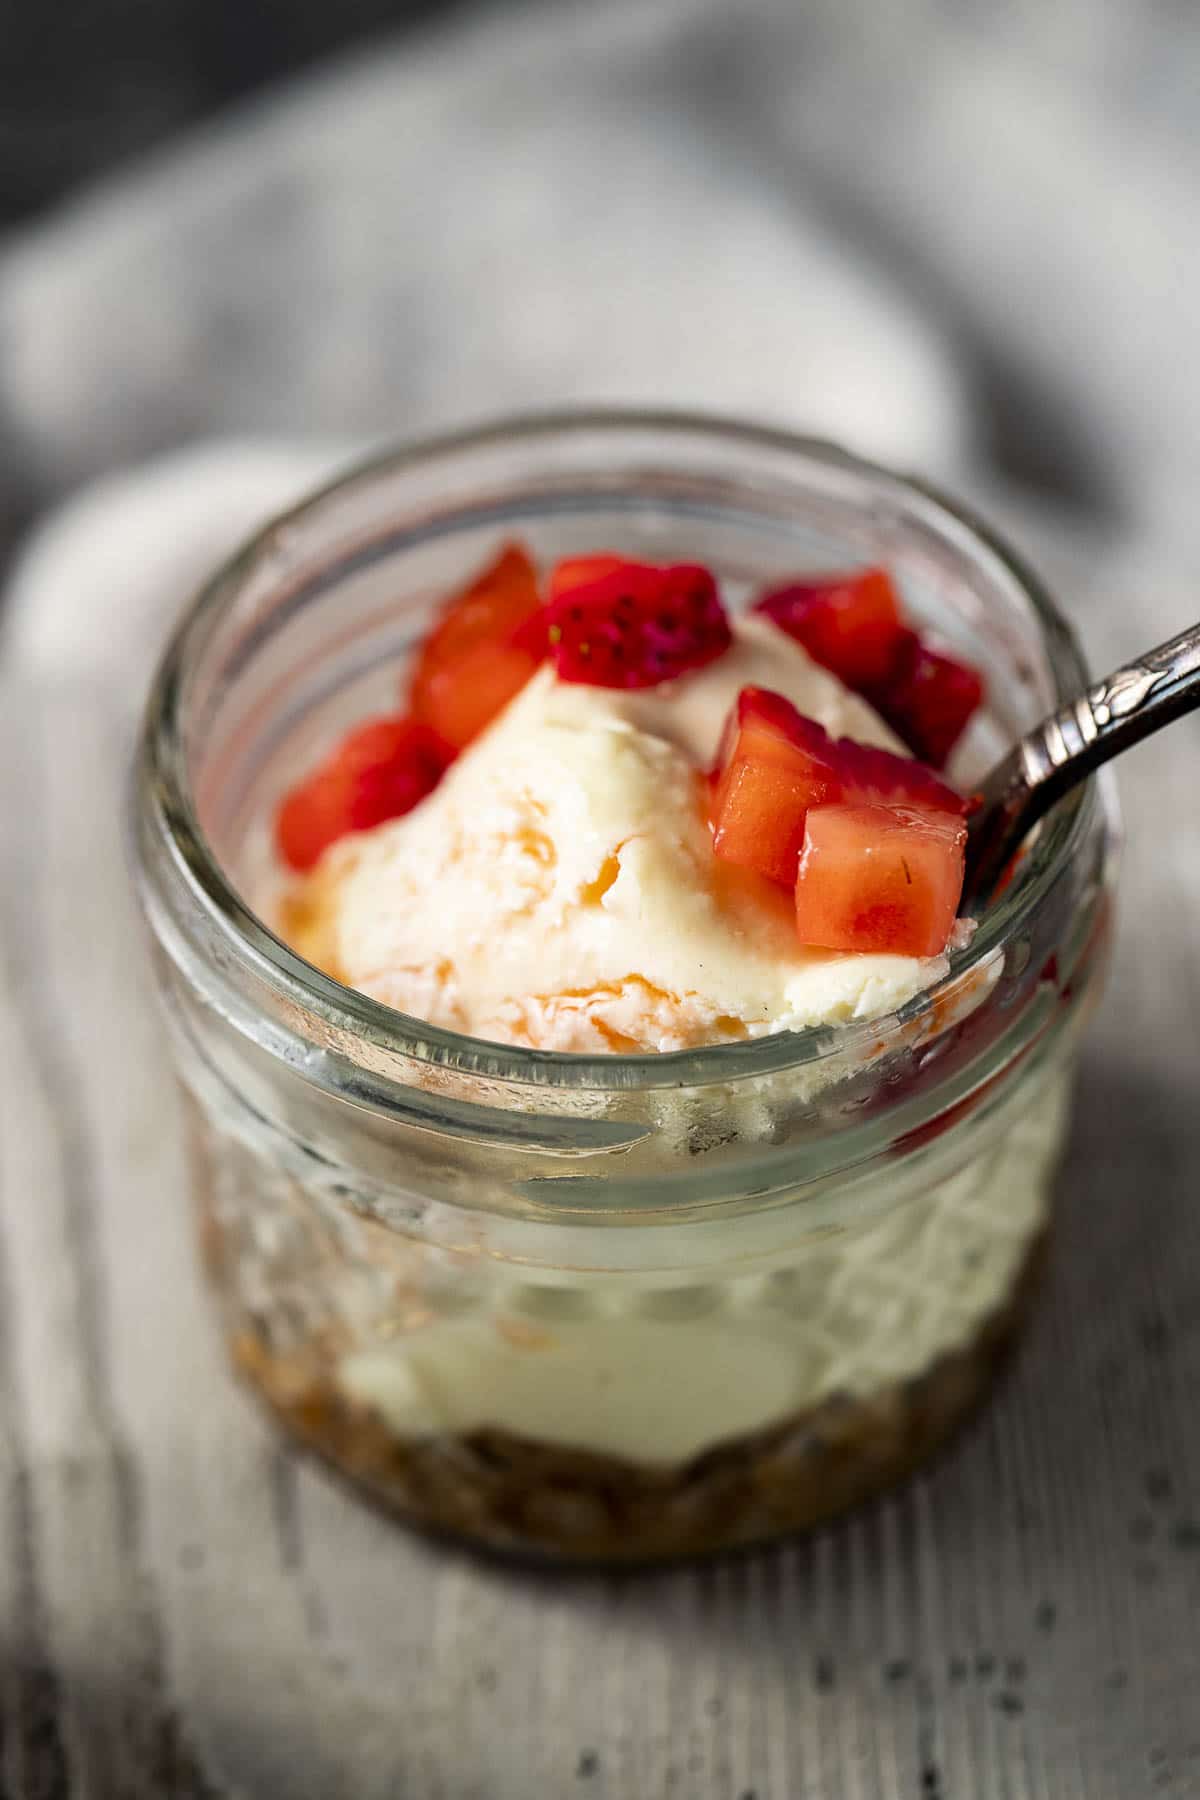
Other topping suggestions
It’s so easy to change up this dessert just by adding different toppings. Instead of strawberries, here are a few other delicious options:
- Fresh blueberries, raspberries or peach slices with honey.
- Whipped cream and crushed Oreo cookies.
- Caramel sauce and crushed nuts.
- Chocolate or butterscotch sauce and chocolate shavings or crushed candy bars.
- Make it extra special with the addition of sous vide lemon curd or blueberry curd.
- For a fancy touch, garnish with some candied lemon slices or candied cherries.
How to prevent jars from cracking in the sous vide
Jars can crack if they experience thermal shock or too much pressure.
To prevent thermal shock, place the jars in the water bath before heating the water. This allows the jars to come slowly to temperature, which should keep them from cracking.
Jars can also crack if there is too much pressure. If they are tightened too tightly, they will crack.
To prevent cracking under pressure, tighten the jars "fingertip tight." This means that you tighten the lids until you barely feel it grab the jar. It should be easy to twist the lid back off with your fingertips, hence the term.
It may feel like it's not closed all the way, but as long as you feel that slight grab, it'll be fine.
Expert tips
- Bringing your cream cheese and eggs to room temperature will allow the filling to mix together easily. Cold cream cheese will result in a lumpy filling.
- For the best results, I highly recommend using full fat cream cheese and be sure to use the blocks of cream cheese instead of the spreadable kind from a tub. It doesn’t result in the same texture.
- Once the crusts are baked, let them cool fully. If you add the cheesecake filling to the warm crusts, they might get soggy.
- Seal the jars just fingertip tight. You should be able to easily twist the lid off with your fingertips. If you seal them too tightly, this could cause the jars to crack.
- Add the jars to the water bath before it starts warming, which will also help prevent the jars from cracking.
- Let the cheesecakes cool at room temperature (without the lids) and then chill in the fridge (with the lids) before serving. This helps the cheesecakes set.
Common questions
For the best results, set the temperature of your sous vide water bath to 176F degrees. There’s no need to preheat the water bath. Add the cheesecake jars at the same time as you set the temperature. You want the jars to warm up with the water.
At 176F degrees, the cheesecakes will only take 90 minutes to cook in the water bath. You’ll also need to factor in time to bake the crust and to let the cheesecakes cool and chill before serving.
If you keep the cheesecakes sealed in their jars, they should last for 5-7 days in the fridge.
Yes, you can freeze the sealed jars of cheesecake for up to 3 months. Just leave off the topping and add it before serving. To defrost the cheesecakes, let them sit in the fridge overnight.
Other cheesecake recipes
- Easy No Bake Cheesecake Bites
- Eggnog Cheesecake Bars with Gingersnap Crust
- 5 Ingredient No Bake Pumpkin Cheesecake Balls
If you love this recipe, please leave a star rating and a comment below and let us know your favorite thing about it. We'd also love to connect on Instagram! Follow us at @went_here_8_this for awesome recipes and all sorts of fun food stuff 🙂
The form you have selected does not exist.
Recipe
Sous Vide Cheesecake
Ingredients
- 16 ounces cream cheese full fat, room temperature
- 2 eggs room temperature
- 1 teaspoon vanilla extract
- ⅓ cup granulated sugar
Graham Cracker Crust:
- 3 tablespoons salted butter
- ¾ cup crushed graham crackers
- 2 tablespoons brown sugar
Instructions
- Preheat the oven to 350F degrees.
- Combine the crust ingredients and place about 1 tablespoon in each of the jars. (You'll need eight 4-ounce ball jars with lids). Press the crust down into the jars.
- Place the jars (without lids) on a baking sheet and bake for 10 minutes. Remove and let cool fully (about 30-45 minutes).
- Use a counter top or hand mixer to beat the cream cheese, vanilla, eggs and sugar together until slightly fluffy with no lumps (about 1-2 minutes).
- Divide the cream cheese mixture among the 8 jars. Place the lids on and screw "finger tight." (This means that the lids are tightened until you feel it grab the jar. It should be easy to twist the lid back off with your fingertips).
- Place the jars in the water bath, set the temperature to 176F degrees and cook for 90 minutes.
- While the cheesecake cooks, combine the strawberries, honey and salt in a bowl and mix together. Let it sit in the fridge until ready to serve.
- Remove the cheesecake jars from the water bath with tongs (the water is very hot) and place on a heatproof surface.
- Let the jars cool to the touch, then remove the lids. Let the cheesecakes cool at room temperature for 30-60 minutes.
- Wipe the moisture off the top of the lids and place back on the cheesecake jars.
- Let the cheesecakes chill in the fridge for 3-4 hours to fully set.
- Serve with the strawberry mixture.
Expert Tips:
- Bringing your cream cheese and eggs to room temperature will allow the filling to mix together easily. Cold cream cheese will result in a lumpy filling.
- For the best results, I highly recommend using full fat cream cheese and be sure to use the blocks of cream cheese instead of the spreadable kind from a tub. It doesn’t result in the same texture.
- Once the crusts are baked, let them cool fully. If you add the cheesecake filling to the warm crusts, they might get soggy.
- Seal the jars just fingertip tight. You should be able to easily twist the lid off with your fingertips. If you seal them too tightly, this could cause the jars to crack.
- Add the jars to the water bath before it starts warming, which will also help prevent the jars from cracking.
- Let the cheesecakes cool at room temperature (without the lids) and then chill in the fridge (with the lids) before serving. This helps the cheesecakes set.
Nutrition





Robert Lillard says
Since sous vide containers are not all the same size and hold various amounts of water, your instructions to start the sous vide process with cool water will result in different amounts of time at the desired temperature depending upon how long each system took to reach 176 degrees. What is the amount of time the jars need to be at 176 degrees, independent of the warm up time to ensure cooking properly?
Danielle says
I agree the water will take different amounts of time to heat up. The jars should be cooked at 176 for 90 minutes to cook through.