This post may contain affiliate links. Please read my disclosure.
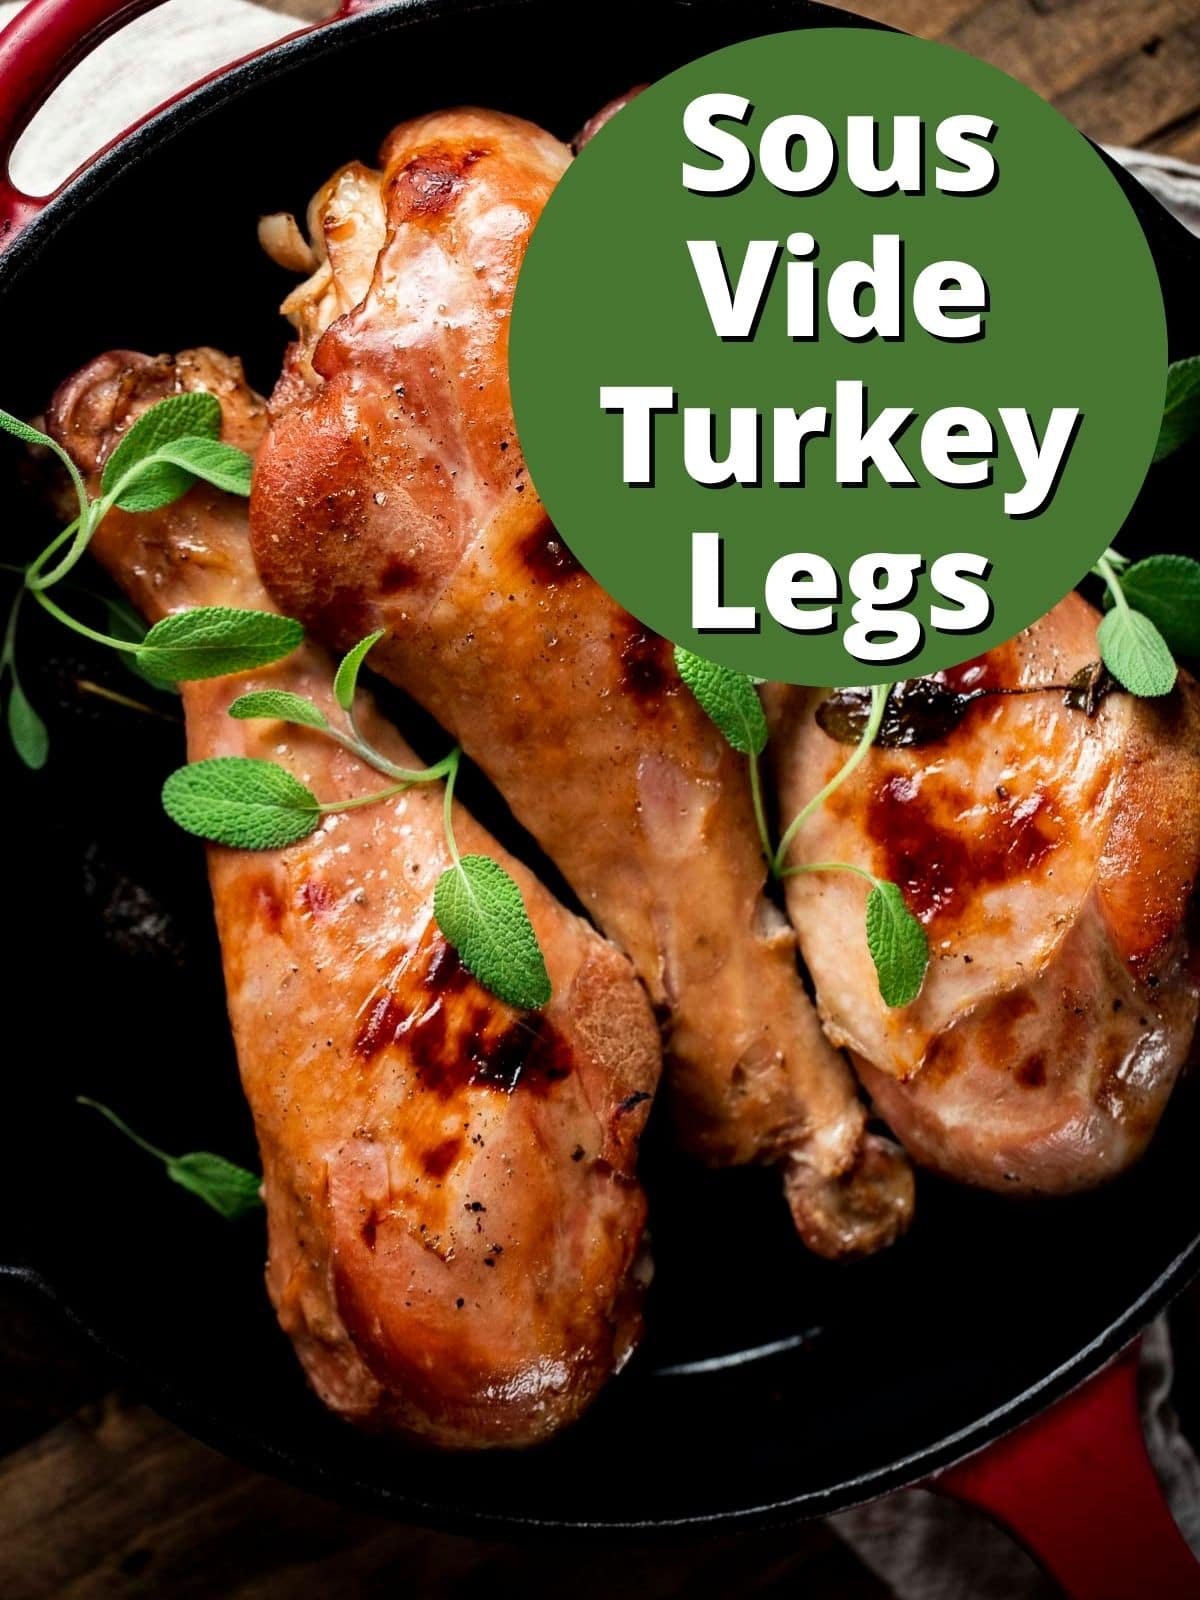
Sous Vide Turkey Legs are slow cooked in a water bath until tender and fall-off-the-bone delicious! They’re seasoned with garlic, sage and honey, and make the perfect addition to your Thanksgiving menu!
This recipe is for all the dark meat lovers out there! Sous vide turkey legs turn out juicy and flavorful, with very little effort, just like these sous vide turkey thighs. The legs slow cook for 24 hours and there’s no basting required!

These drumsticks are a favorite in our house! The flavorful dark meat is perfect to serve for Thanksgiving, especially when you don’t want to cook a full bird. It’s also a budget-friendly option to serve any day of the week!
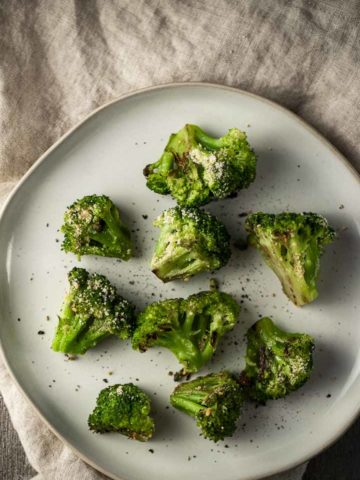
For everyday meals, we usually pair them with crispy roasted potatoes, air fryer carrots and roasted frozen broccoli.
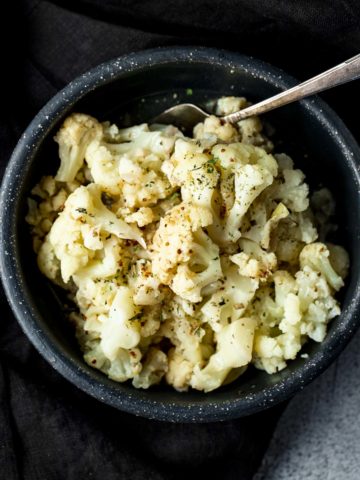
For the holidays, these turkey legs are perfect served with savory mashed sweet potatoes, cornbread pudding, honey balsamic brussels sprouts, roasted parmesan cauliflower and homemade bread stuffing.
Jump to:
Why this recipe works
- You get the flavors of slow cooked, braised turkey legs without turning on your oven. As the legs slowly cook in the water bath, the connective tissue breaks down and the meat becomes fall-off-the bone tender.
- Turkey legs are less expensive than turkey breast, so they’re a great option to feed a crowd when you’re on a budget!
- No basting required! The turkey legs are sealed in a bag with seasonings so they absorb all the flavors as they cook for 24 hours.
Want to Save This Recipe?
Enter your email & I'll send it to your inbox. Plus, get great new recipes from me every week!
By submitting this form, you consent to receive emails from Went Here 8 This.
What is Sous Vide?
Sous vide is basically a method of cooking using what is called an immersion circulator (i.e. the sous vide machine). This immersion circulator circulates water in a temperature controlled water bath at a certain temperature to perfectly cook your food every time.
Because the temperature doesn't change, and it keeps your meat (or dessert, veggies, etc.) at the same temperature, your risk of overcooking becomes very minimal.
To learn even more about sous vide cooking, head over and read "what is sous vide cooking and the benefits of sous vide cooking."
What is the Water Displacement Method?
The displacement method is where you slowly submerge a ziplock bag in water pushing the air out of the top of the bag (the bag should be slightly open at the top to allow air to escape).
Use a clip (I use sous vide magnets) to clip the bag to the side to keep it from floating and getting air and/or water inside.
Tools Used
You will also want to check out these posts on the best sous vide containers and the best sous vide bags for more information!
Other sous vide recipes
What's the difference between a turkey leg and a drumstick?
A turkey leg includes the turkey’s thigh and extends down to include the meat just below the turkey’s knee joint. This part of the leg is called the drumstick.
In many recipes, the term turkey leg is often used to refer to the drumstick.
Ingredients
The following are some of the key ingredients to make sous vide turkey legs. For the full list of ingredients and quantities, please see the recipe card below.
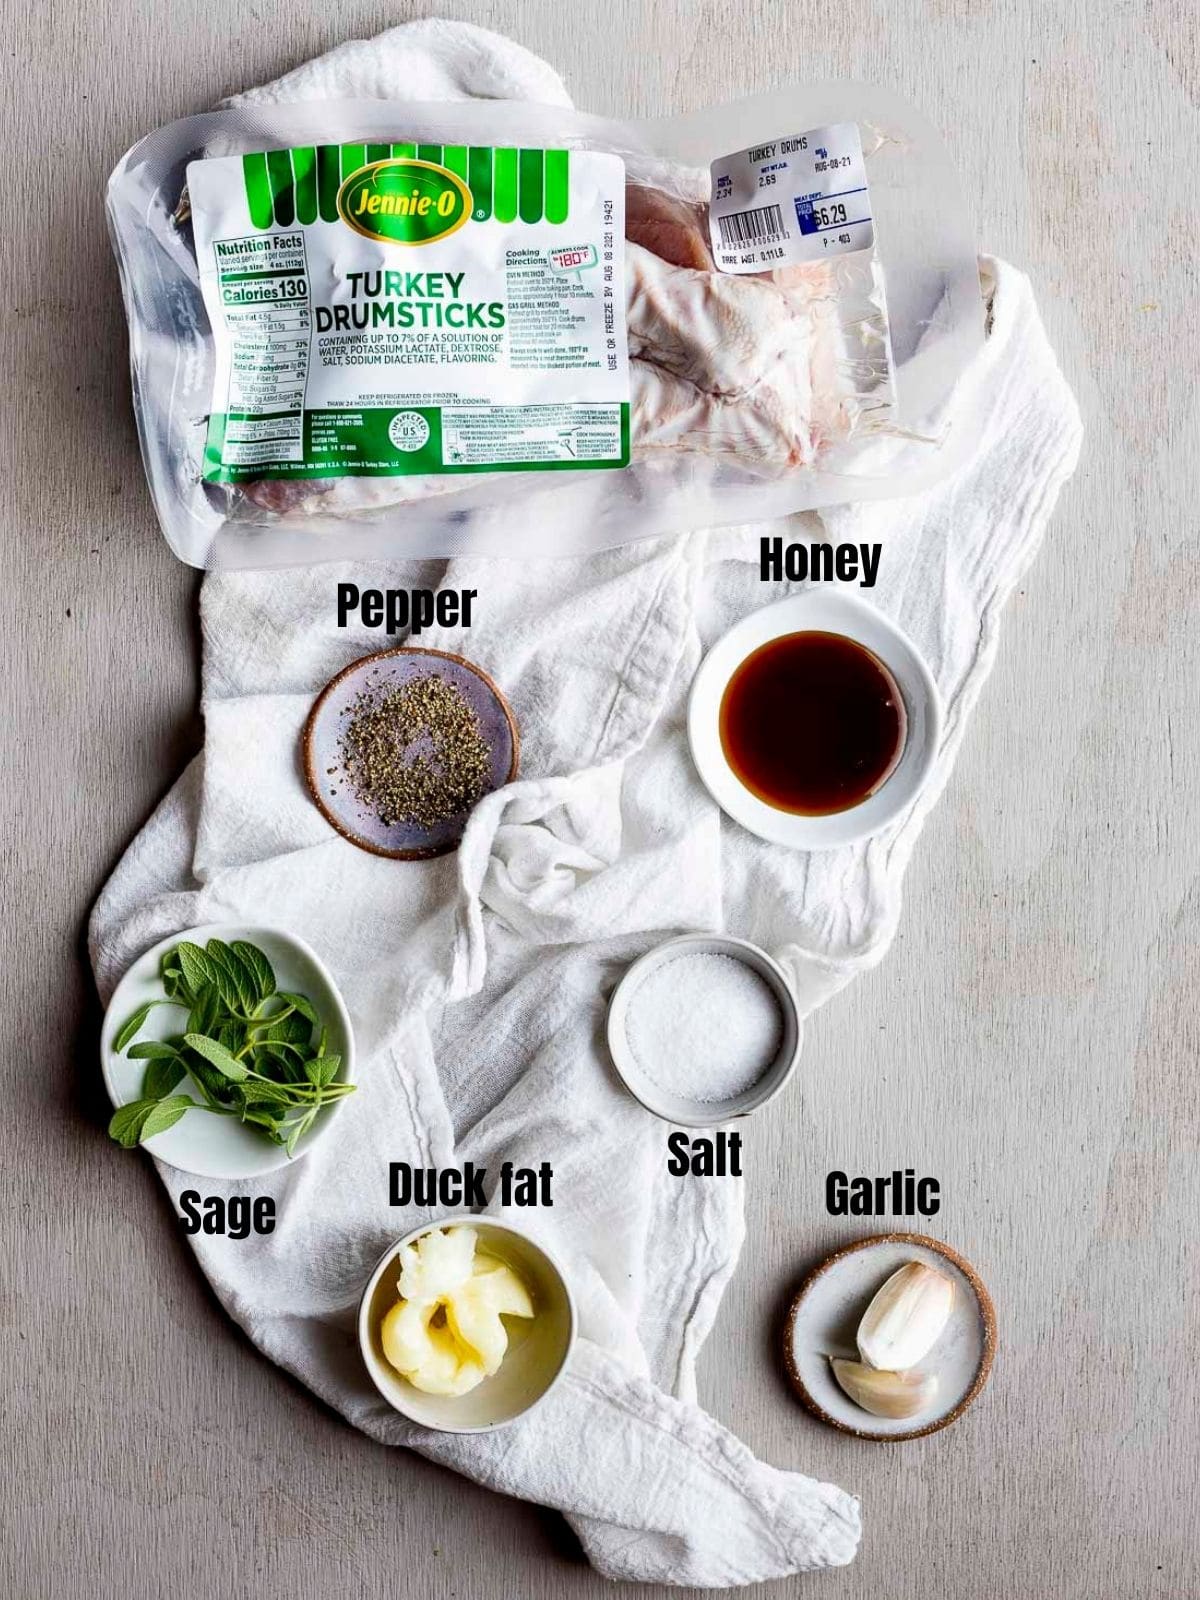
For this recipe, you’ll need 2-3 pounds of turkey legs. (It depends on their size, but I used 3 drumsticks for this recipe).
To flavor the legs and keep them juicy as they cook, you’ll add duck fat, honey, sage and garlic to the sealable bag.
If you don’t have duck fat, you can substitute butter or bacon fat.
The fresh sage really gives these turkey legs a Thanksgiving vibe. If you can’t find fresh sage, you can use dried sage. Just reduce the amount from two tablespoons to two teaspoons.
Step by step instructions
Heat a sous vide water bath to 148F degrees.
Rub the turkey legs with salt and pepper.
Heat a skillet over medium high heat and add 1 tablespoon of cooking oil.
Add the turkey legs and brown on both sides.
Remove and let cool.
Add the turkey legs with the remaining ingredients (except the cooking oil) to a vacuum sealable bag (or zip lock freezer bag if using the water displacement method) and seal.
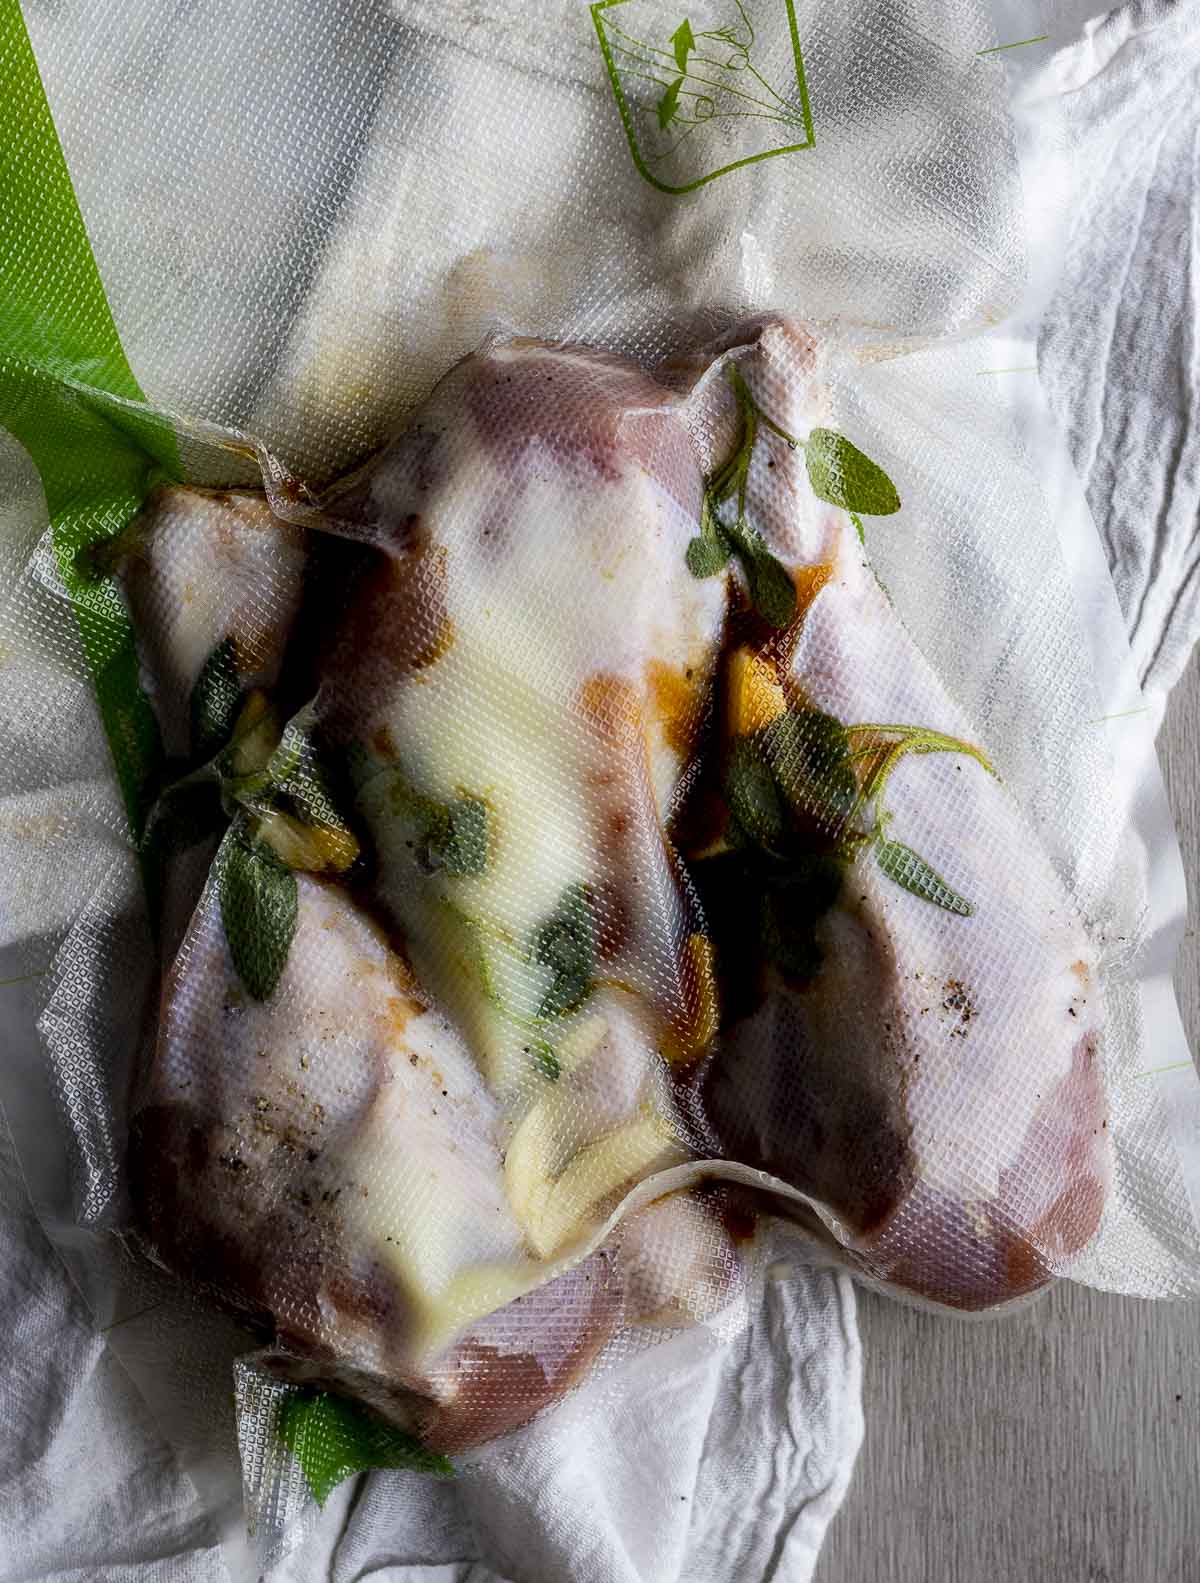
Place in the water bath and cook for 24 hours.
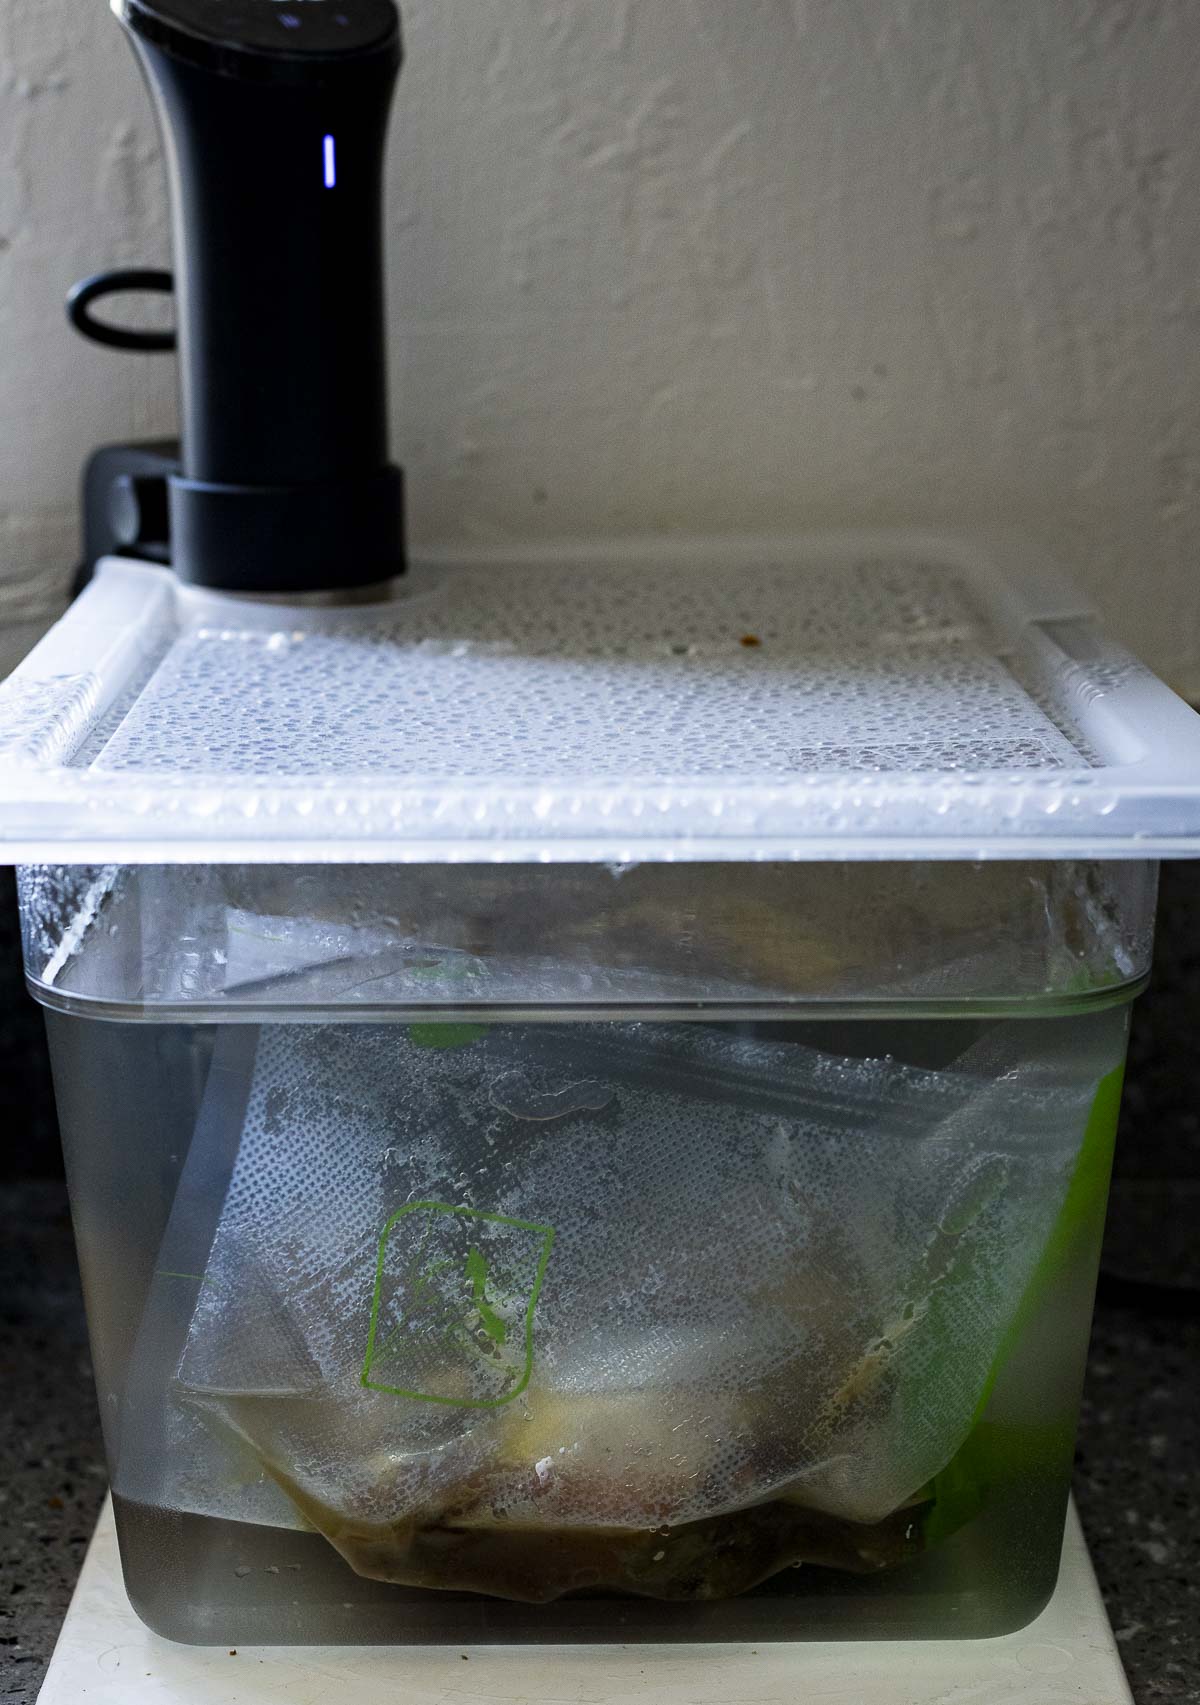
Remove and place in an ice bath for 10 minutes.
Heat a skillet over medium high heat and add 1 tablespoon of cooking oil.
Remove the turkey legs from the bag, reserving the cooking liquid.
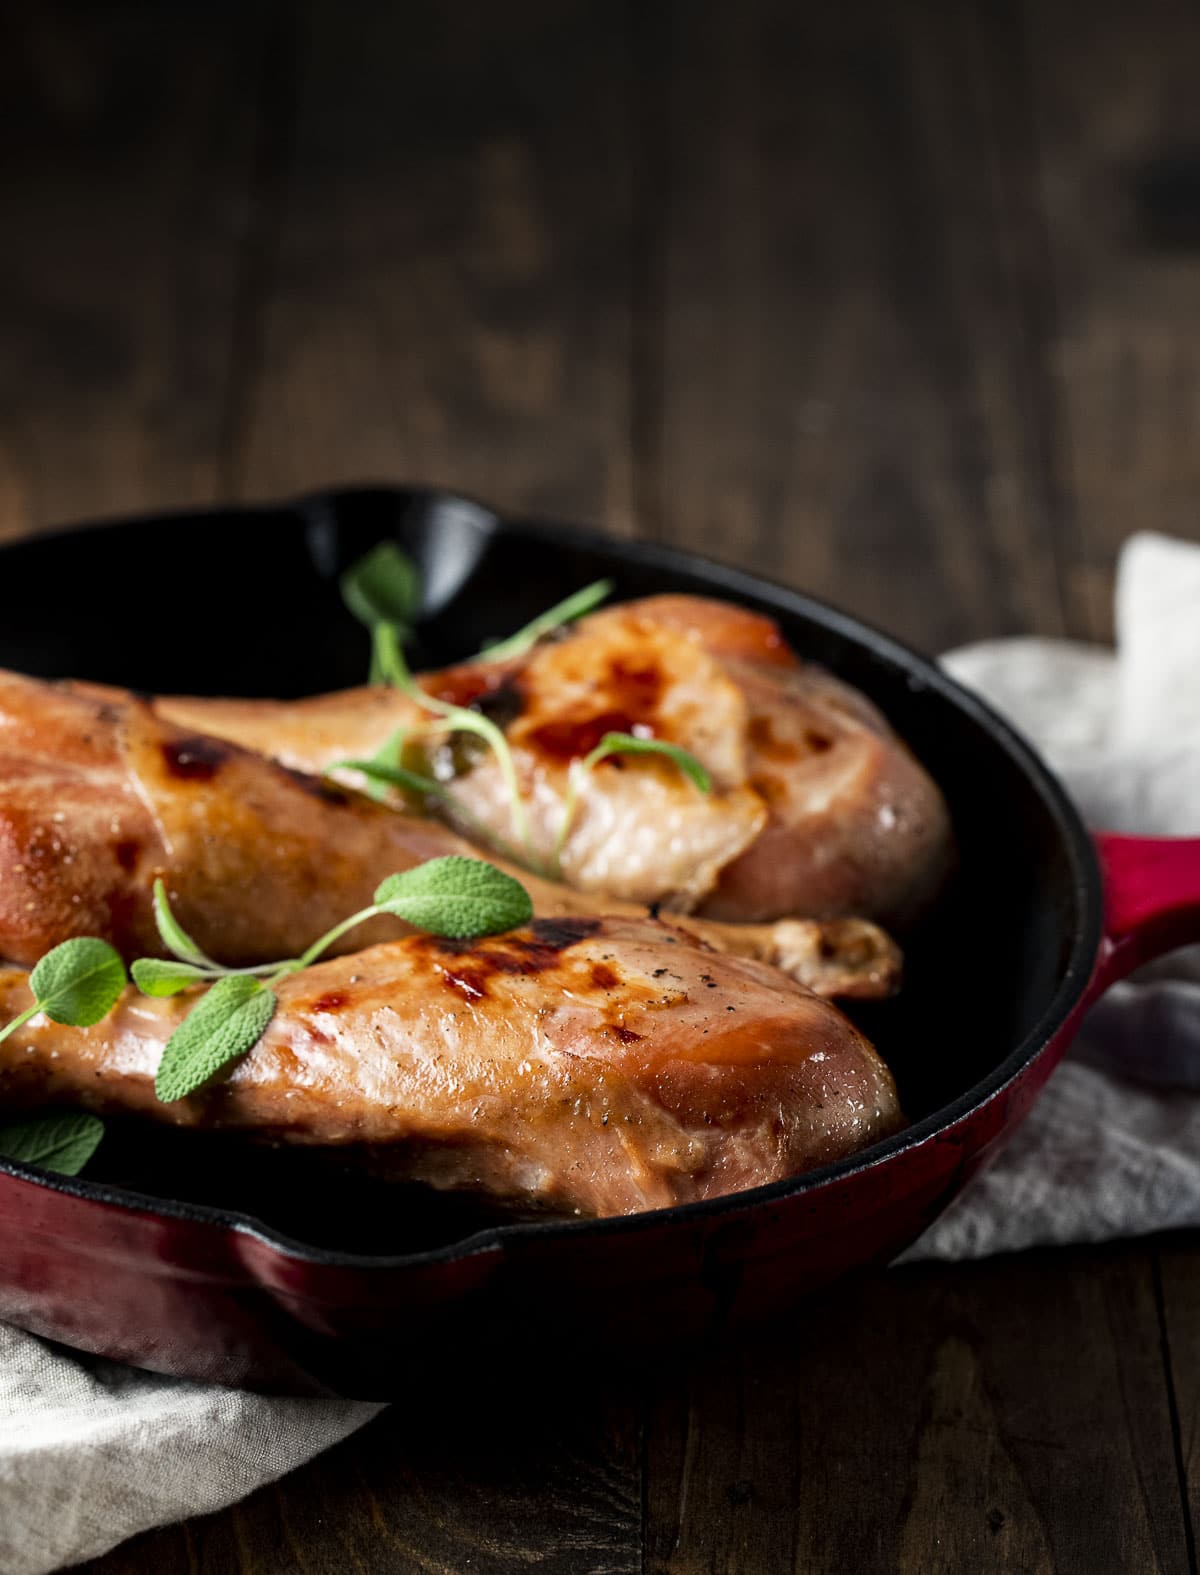
Brown the turkey legs again on each side (about 2 minutes) to crisp the skin.
**Even with browning in the skillet, the skin will still be slightly rubbery. You can also just remove the skin and skip the second browning.
Simmer the cooking liquid over medium high heat for 2-3 minutes. To thicken, slowly whisk in a cornstarch slurry (1 tablespoon of water mixed with 1 tablespoon of cornstarch).
Serve the turkey legs drizzled with the reserved bag sauce and more fresh sage.
Expert tips
- Removing air from the sealable bag is essential for food safety. This will keep bacteria out of the bag, which is especially important when cooking for long periods of time.
- As the turkey legs cook for 24 hours in the water bath, you’ll want to check on the water level as some evaporation may occur. If it does, just top up the bath with more water.
- Check on the turkey legs to make sure the bag doesn’t start floating in the water bath. If the bag floats, just open it, let the excess air out and reseal it.
- You can also use a sous vide sinker weight or a heavy towel to keep the bag from floating.
- When browning the turkey legs at the end, make sure you only do so for about 2 minutes per side. Any longer and the skin could burn and the legs may start to dry out.
- The turkey skin may still be rubbery even after browning. If you prefer, you can just remove the skin and skip the second browning.
- I always have duck fat on hand to make this sous vide duck confit or these duck fat parmesan truffle fries. If you don't have any, you can use butter or bacon fat instead.

Common questions
You should set the temperature of your sous vide water bath to 148F degrees. At this temperature, the turkey legs will be fall-off-the-bone delicious in 24 hours.
Turkey legs have a lot of connective tissue so they’re great for long and slow cooking methods. This recipe cooks the legs in a water bath for 24 hours. Since the temperature of the water bath is controlled, it’s difficult to overcook the legs. You would have to leave them for a few hours, and even then, the meat would just get softer.
For the best flavor, I recommend using fresh turkey legs. If you use frozen, I recommend defrosting the turkey legs first. The legs will also brown better if they’re not frozen.
Browning the legs first seals in the juices and adds flavor as the turkey legs cook in the water bath. Browning the turkey legs after will get the skin crispy before serving. The second browning is not essential. As the skin may still be a little rubbery after browning, you can just remove it and serve the legs without browning again.
Depending on the size, you can serve turkey drumsticks individually or you can carve off slices. If I'm cooking larger drumsticks, I'll usually cut the meat off the bone and serve it in slices or pieces. It'll go a little further that way too!

Make ahead instructions
Using the sous vide method, you can cook turkey legs in advance and store them in the fridge for up to 5 days. This is a great option to prep ahead for Thanksgiving dinner!
To make ahead, after removing from the water bath, leave the turkey legs in the ice bath until completely cooled. Then, store the vacuum sealed bag of turkey legs in the fridge.
When you’re ready to serve, place the bag of turkey legs in a water bath set to 148F degrees and heat them until warmed through. Open the bag, brown the legs, make the sauce and serve.
Other turkey recipes
- Buttery Roasted Turkey Thighs
- Creamy Turkey Lasagna with Bechamel Sauce
- Leftover Turkey Hand Pies
- Turkey and Dumplings with Stuffing Dumplings
- Leftover Turkey Pot Pie Recipe
If you love this recipe, please leave a star rating and a comment below and let us know your favorite thing about it. We'd also love to connect on Instagram! Follow us at @went_here_8_this for awesome recipes and all sorts of fun food stuff 🙂
Recipe

Sous Vide Turkey Legs
Ingredients
- 2-3 pounds turkey legs
- 2 tablespoons duck fat
- 1 tablespoon salt
- ½ teaspoon black pepper
- 1 tablespoon honey
- 2 tablespoons fresh sage several sprigs
- 2 garlic cloves smashed
- 2 tablespoons cooking oil for searing
Instructions
- Heat a sous vide water bath to 148F degrees.
- Rub the turkey legs with the salt and pepper.
- Heat a skillet over medium high heat and add 1 tablespoon of cooking oil.
- Add the turkey legs and brown on both sides.
- Remove and let cool.
- Add the turkey legs with the remaining ingredients (except the cooking oil) to a vacuum sealable bag (or zip lock freezer bag if using the water displacement method) and seal.
- Place in the water bath and cook for 24 hours.
- Remove and place in an ice bath for 10 minutes.
- Heat a skillet over medium high heat and add 1 tablespoon of cooking oil.
- Remove the turkey legs from the bag, reserving the cooking liquid.
- Brown the turkey legs again on each side (about 2 minutes) to crisp the skin.
- Simmer the cooking liquid over medium high heat for 2-3 minutes. To thicken, slowly whisk in a cornstarch slurry (1 tablespoon of water mixed with 1 tablespoon of cornstarch).
- Serve the turkey legs drizzled with the reserved bag sauce and more fresh sage.
Expert Tips:
- Removing air from the sealable bag is essential for food safety. This will keep bacteria out of the bag, which is especially important when cooking for long periods of time.
- As the turkey legs cook for 24 hours in the water bath, you’ll want to check on the water level as some evaporation may occur. If it does, just top up the bath with more water.
- Check on the turkey legs to make sure the bag doesn’t start floating in the water bath. If the bag floats, just open it, let the excess air out and reseal it.
- You can also use a sous vide sinker weight or a heavy towel to keep the bag from floating.
- When browning the turkey legs at the end, make sure you only do so for about 2 minutes per side. Any longer and the skin could burn and the legs may start to dry out.
- The turkey skin may still be rubbery even after browning. If you prefer, you can just remove the skin and skip the second browning.
- If you don't have any duck fat, you can use butter or bacon fat instead.
Nutrition


Amanda Wren-Grimwood says
Turkey legs are such great value and this is such a great way of cooking them to get them delicious and tender!
Danielle says
Definitely!
Gina says
Love the sage for flavor with these turkey legs. Since we're having a small Thanksgiving, I'm thinking this may be better than a whole bird!
Danielle says
For sure!
Biana says
What a great way to make turkey legs! These will be great for the holidays.
Danielle says
Perfect for Thanksgiving!
Jessica Stroup says
Genius! This is such a great recipe!!!
Danielle says
Thanks!
Beth Sachs says
The seasoning for these turkey legs sounds delicious. Perfect for Thanksgiving!
Danielle says
Thanks!